Creating and Sharing Surveys
Getting Started
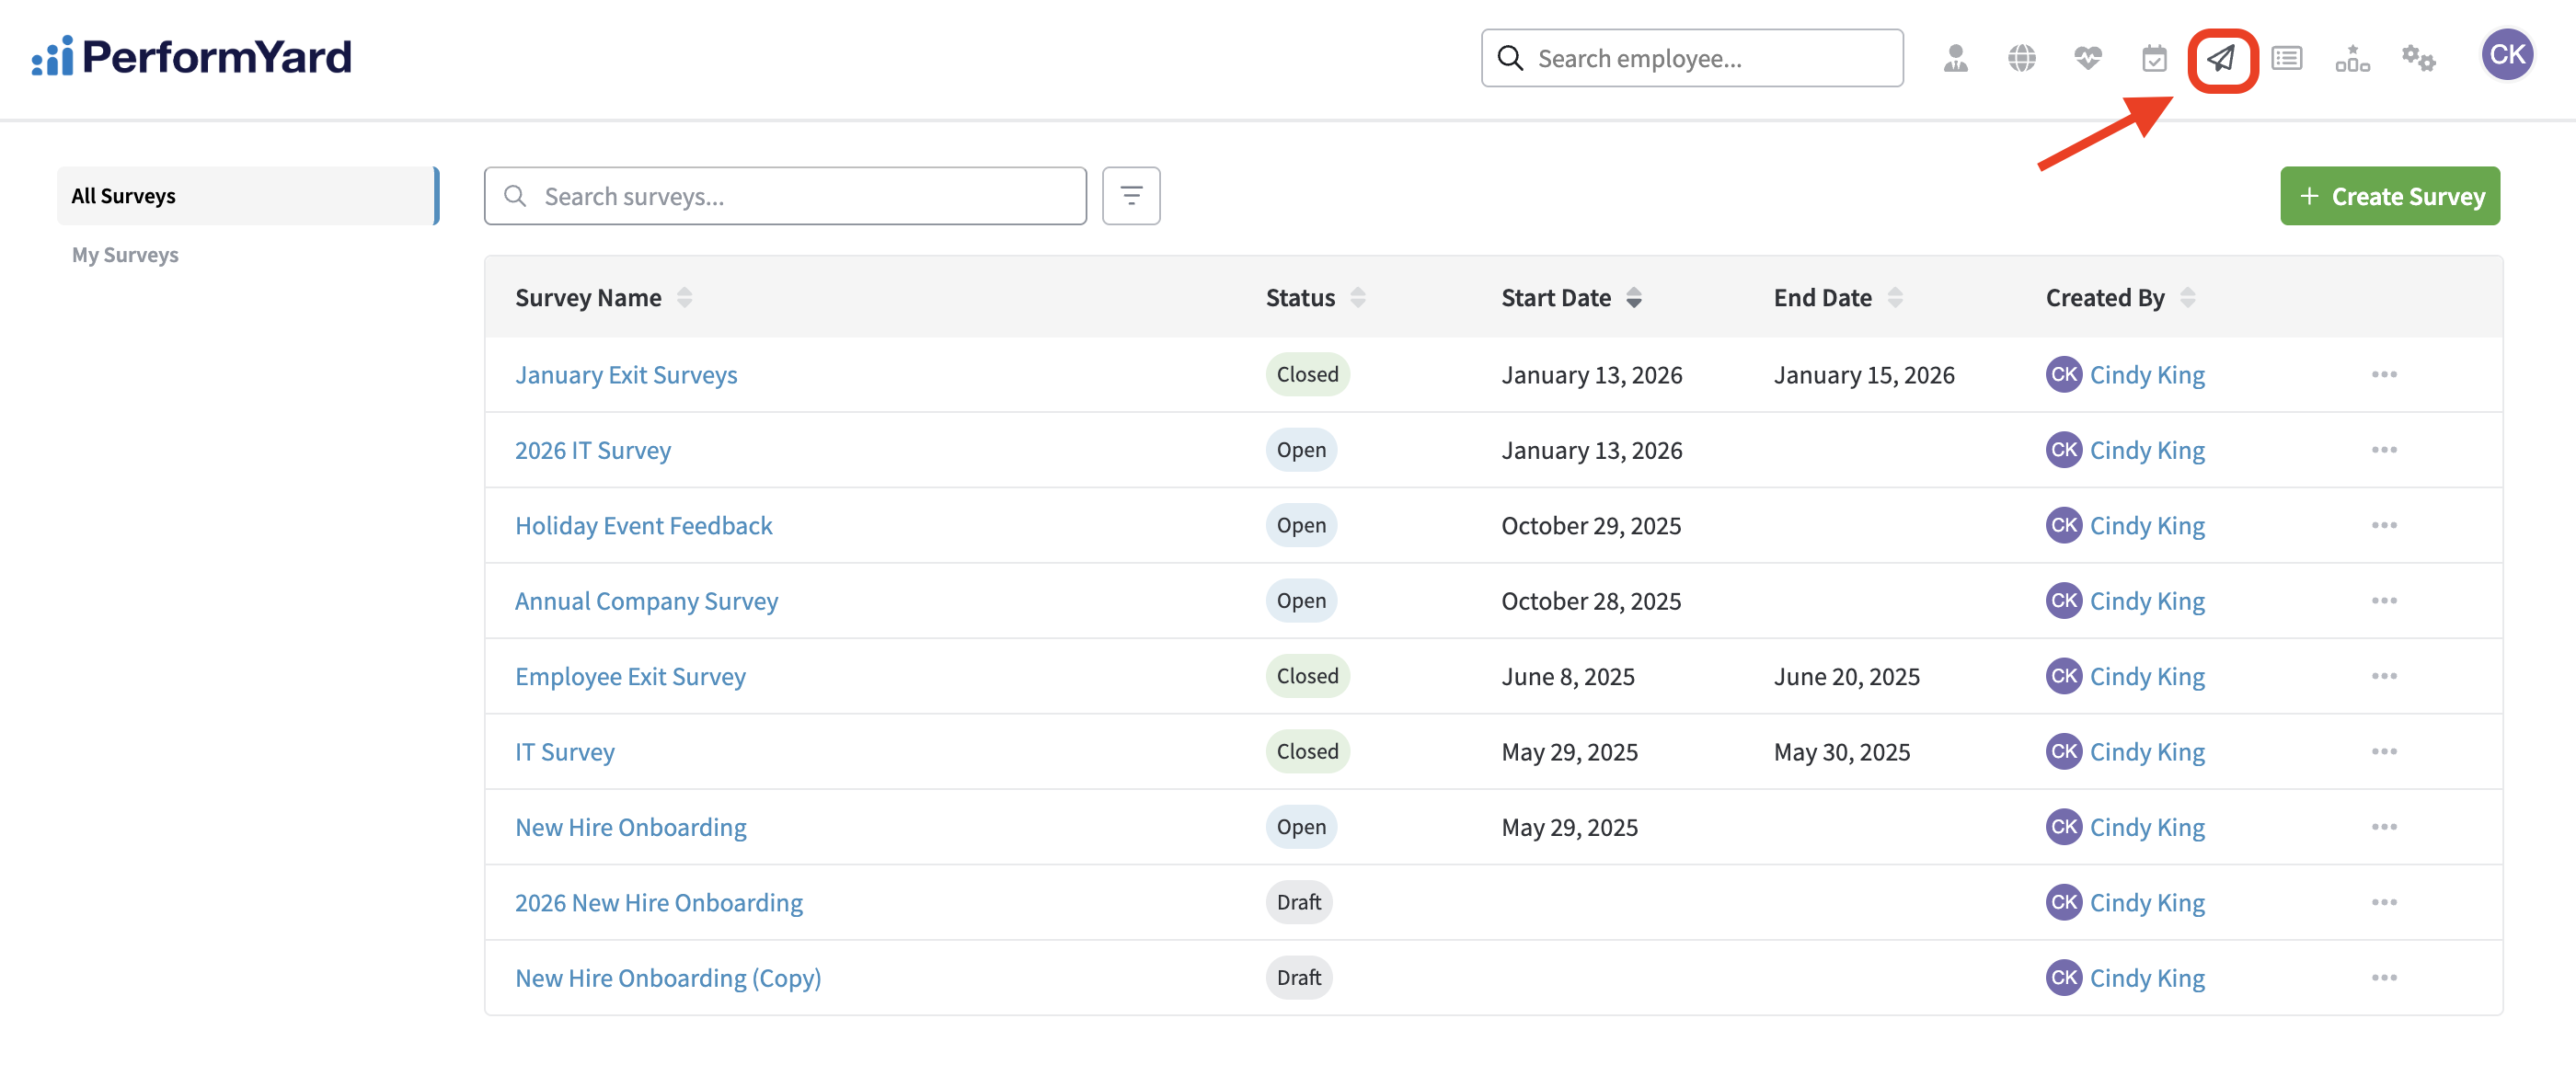
Whether you're preparing your organization's annual survey or collecting quick feedback on a specific topic, PerformYard provides a fast, flexible survey builder to help you gather input from your team. There are two primary ways to create a new survey. To get started, navigate to the Surveys home page.
Create from a blank template
To start a new survey, click the Create Survey button near the top right corner of the home page.

In the popup modal, name your survey. Please note that duplicate survey names are not allowed. Next, you'll be taken to the Build tab, where you can begin adding the following question types:
- Instructions: Adds context or guidance for participants. This type has no response input.
- Long Answer: Open-ended questions that allow participants to type detailed responses.
- Multiple Choice: Present a list of up to 20 answer options. By default, participants can select one answer, but this can be modified to allow multiple selections.
- Rating Scale: A scale-based question where each choice maps to a numeric value. Useful for reporting and analysis.
To save your work, click the Save Survey button before navigating away from the tab. Once saved, you can preview what the survey will look like in the Preview tab.

Create from an existing survey template
You can also create new surveys by copying an existing one. This is especially helpful for recurring surveys or when reusing similar questions. To create a new survey using an existing one as a template, click on the Options button in the horizontal navigation panel across the top of the Survey Detail page and select Save as Copy.

You will then be redirected to a new Build tab with prefilled content, including the survey name and questions. From here, you can rename the survey, edit or remove existing questions, add new questions, and rearrange question order.

Select Participants
On the Participants tab, survey creators can define who in their organization has access to view and participate in the survey. This setting can be defined and/or modified for surveys in a Draft, Scheduled, or Open status. Once the survey is Closed, survey access cannot be modified.
By default, the Survey Access dropdown will be set to all employees. To restrict survey access, change the dropdown selection to "Only selected employees have access" and select the individuals or teams who should have access to participate in the survey. After making the desired selections, click the Complete Selection button in the bottom right. This option adds an additional layer of security as the survey link will prohibit access for any employee who is not selected as a participant. Please note that only those with PerformYard accounts may be selected, and once an employee has submitted a response, they cannot be removed as a participant.

Publish Your Survey
After finalizing your survey and reviewing it in the Preview tab, click the Publish button in the top right corner of the page. Next, you will be prompted to specify whether the survey should open immediately or at a later date.

Open Immediately
Clicking the "Publish Survey" button will make the survey available for responses with no defined end date. If you want the survey to close on a specific date, click the Schedule Start and End Date option in the popup. Enter the current date as the start date and specify the desired end date. If no end date is set at the time of publishing, you can still do this from the Survey Results tab after the survey has been published. To do so, select Options > Edit Survey Schedule. You can also close the survey manually by selecting Options > Close Survey.

Schedule In Advance
If you're planning ahead for something like an annual company survey, you can schedule the survey to open on a future date. This option allows you to prepare the survey in advance while controlling when it becomes available to participants. To do this, select the Schedule Start and End Date checkbox. Set your desired start date/time and, if applicable, the date/time it needs to close. The start/close time is based on the company's default timezone (defined by admin users on the Administration home page under the Company Settings section).

Share Your Survey
After publishing, you will be provided with the survey link and a new Share Survey button will display in the horizontal navigation panel across the top of the Survey Detail page. There are two ways to share a survey:
- Copying the link (to share manually)
- Emailing the link
 Click the Share button in the top nav
 Share Survey modal
Copy Link
Copying the survey link is a great option for those who want full control over the messaging sent to participants, the timing of when the link is sent, or the channel of communication used. It is important to note that although a link is generated upon publishing, participants will not have access to view survey questions or submit responses until the survey status is Open. If a participant navigates to the link while its status is Scheduled, they will be directed to a page displaying additional information about the survey's start date and options to return to their dashboard or log out of PerformYard.
You can copy the link to a published survey from both the Survey Detail page and the Surveys Home page. In the Survey Detail page, click the Share Survey button in the top nav and select Copy Link. To copy the link from the Surveys Home page, click the action menu (three dots) for the desired survey and select Copy Survey link. From here, you can prepare communications and distribute the link as desired. An example message template has been provided for you below:
Example of Introduction Email or Direct Message
- [Insert Link to Survey]
Emailing the survey link is an extremely helpful option for those who want an automated email to be sent to survey participants. To share via email, navigate to the Survey Detail page and click the Share Survey button in the top nav. In the Share Survey modal, click Email Link. If the survey is Open, participants will receive an email immediately following confirmation by the survey creator. If the survey's current status is Scheduled, participants will receive an email on the date/time the survey is scheduled to start.
 Email confirmation for Open survey
 Email confirmation for Scheduled survey