.png)
Getting Started with Roles
Introduction
Once you've created the competencies for your organization, the remaining steps all focus around roles:
- Set up roles that group employees by job function
- Assign the competencies and competency levels expected of each role
- Assign employees to their role
This article covers all three items noted above.
Creating Roles
Roles let you group employees by job function so that competency expectations can vary from one function to the next. For example, an engineer and product manager may share a competency like problem solving, but the definition of successful problem solving could differ greatly across these two roles.
To create a new role, navigate to the Administration Settings > Roles page and click the Create Role button located in the top right corner.
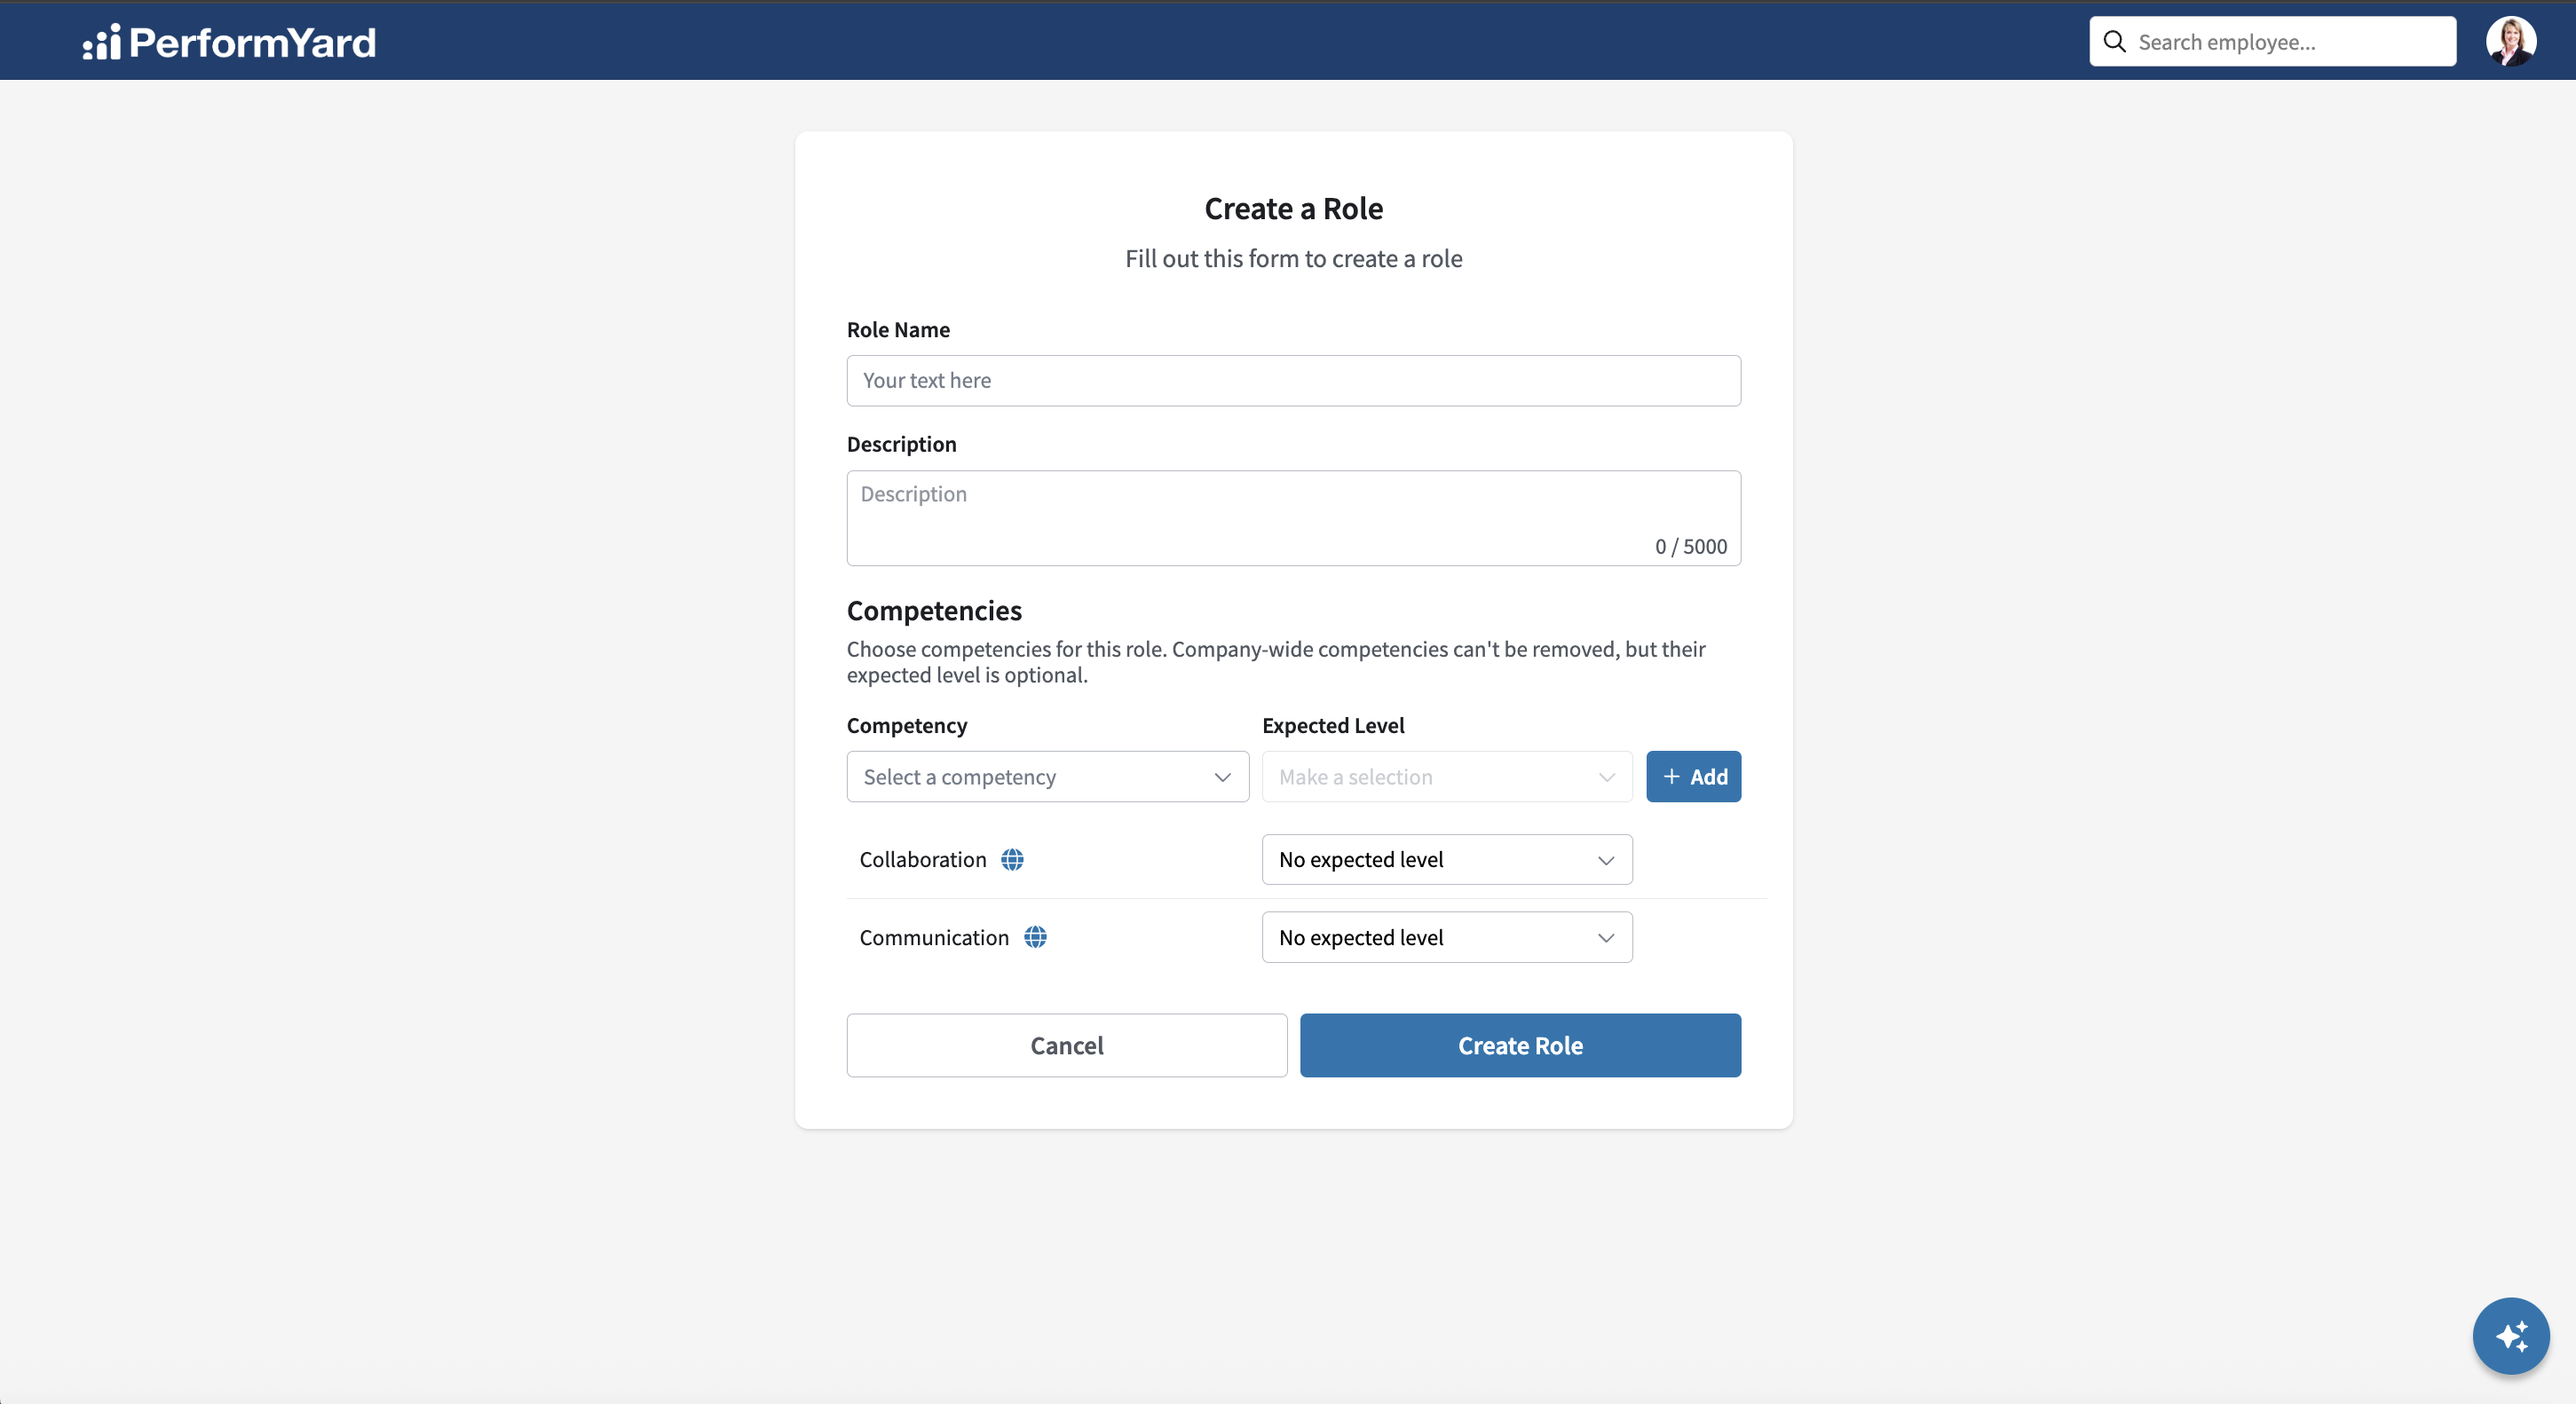
On the Create Role screen, you can define the following information:
- Role Name - Required field
- Description - Optional field. Allows organizations to provide a short job description.
- Role Competencies and Expected Levels
In the Competencies section of the Create Role screen, company-wide competencies are displayed automatically and cannot be removed, allowing you to specify an expected level if desired. You can associate more competencies to the role by selecting a competency from the dropdown, setting the expected level, and clicking the blue Add button.
Once you've finished adding competencies and defining the expected level for each, click the Create Role button.
Managing Roles
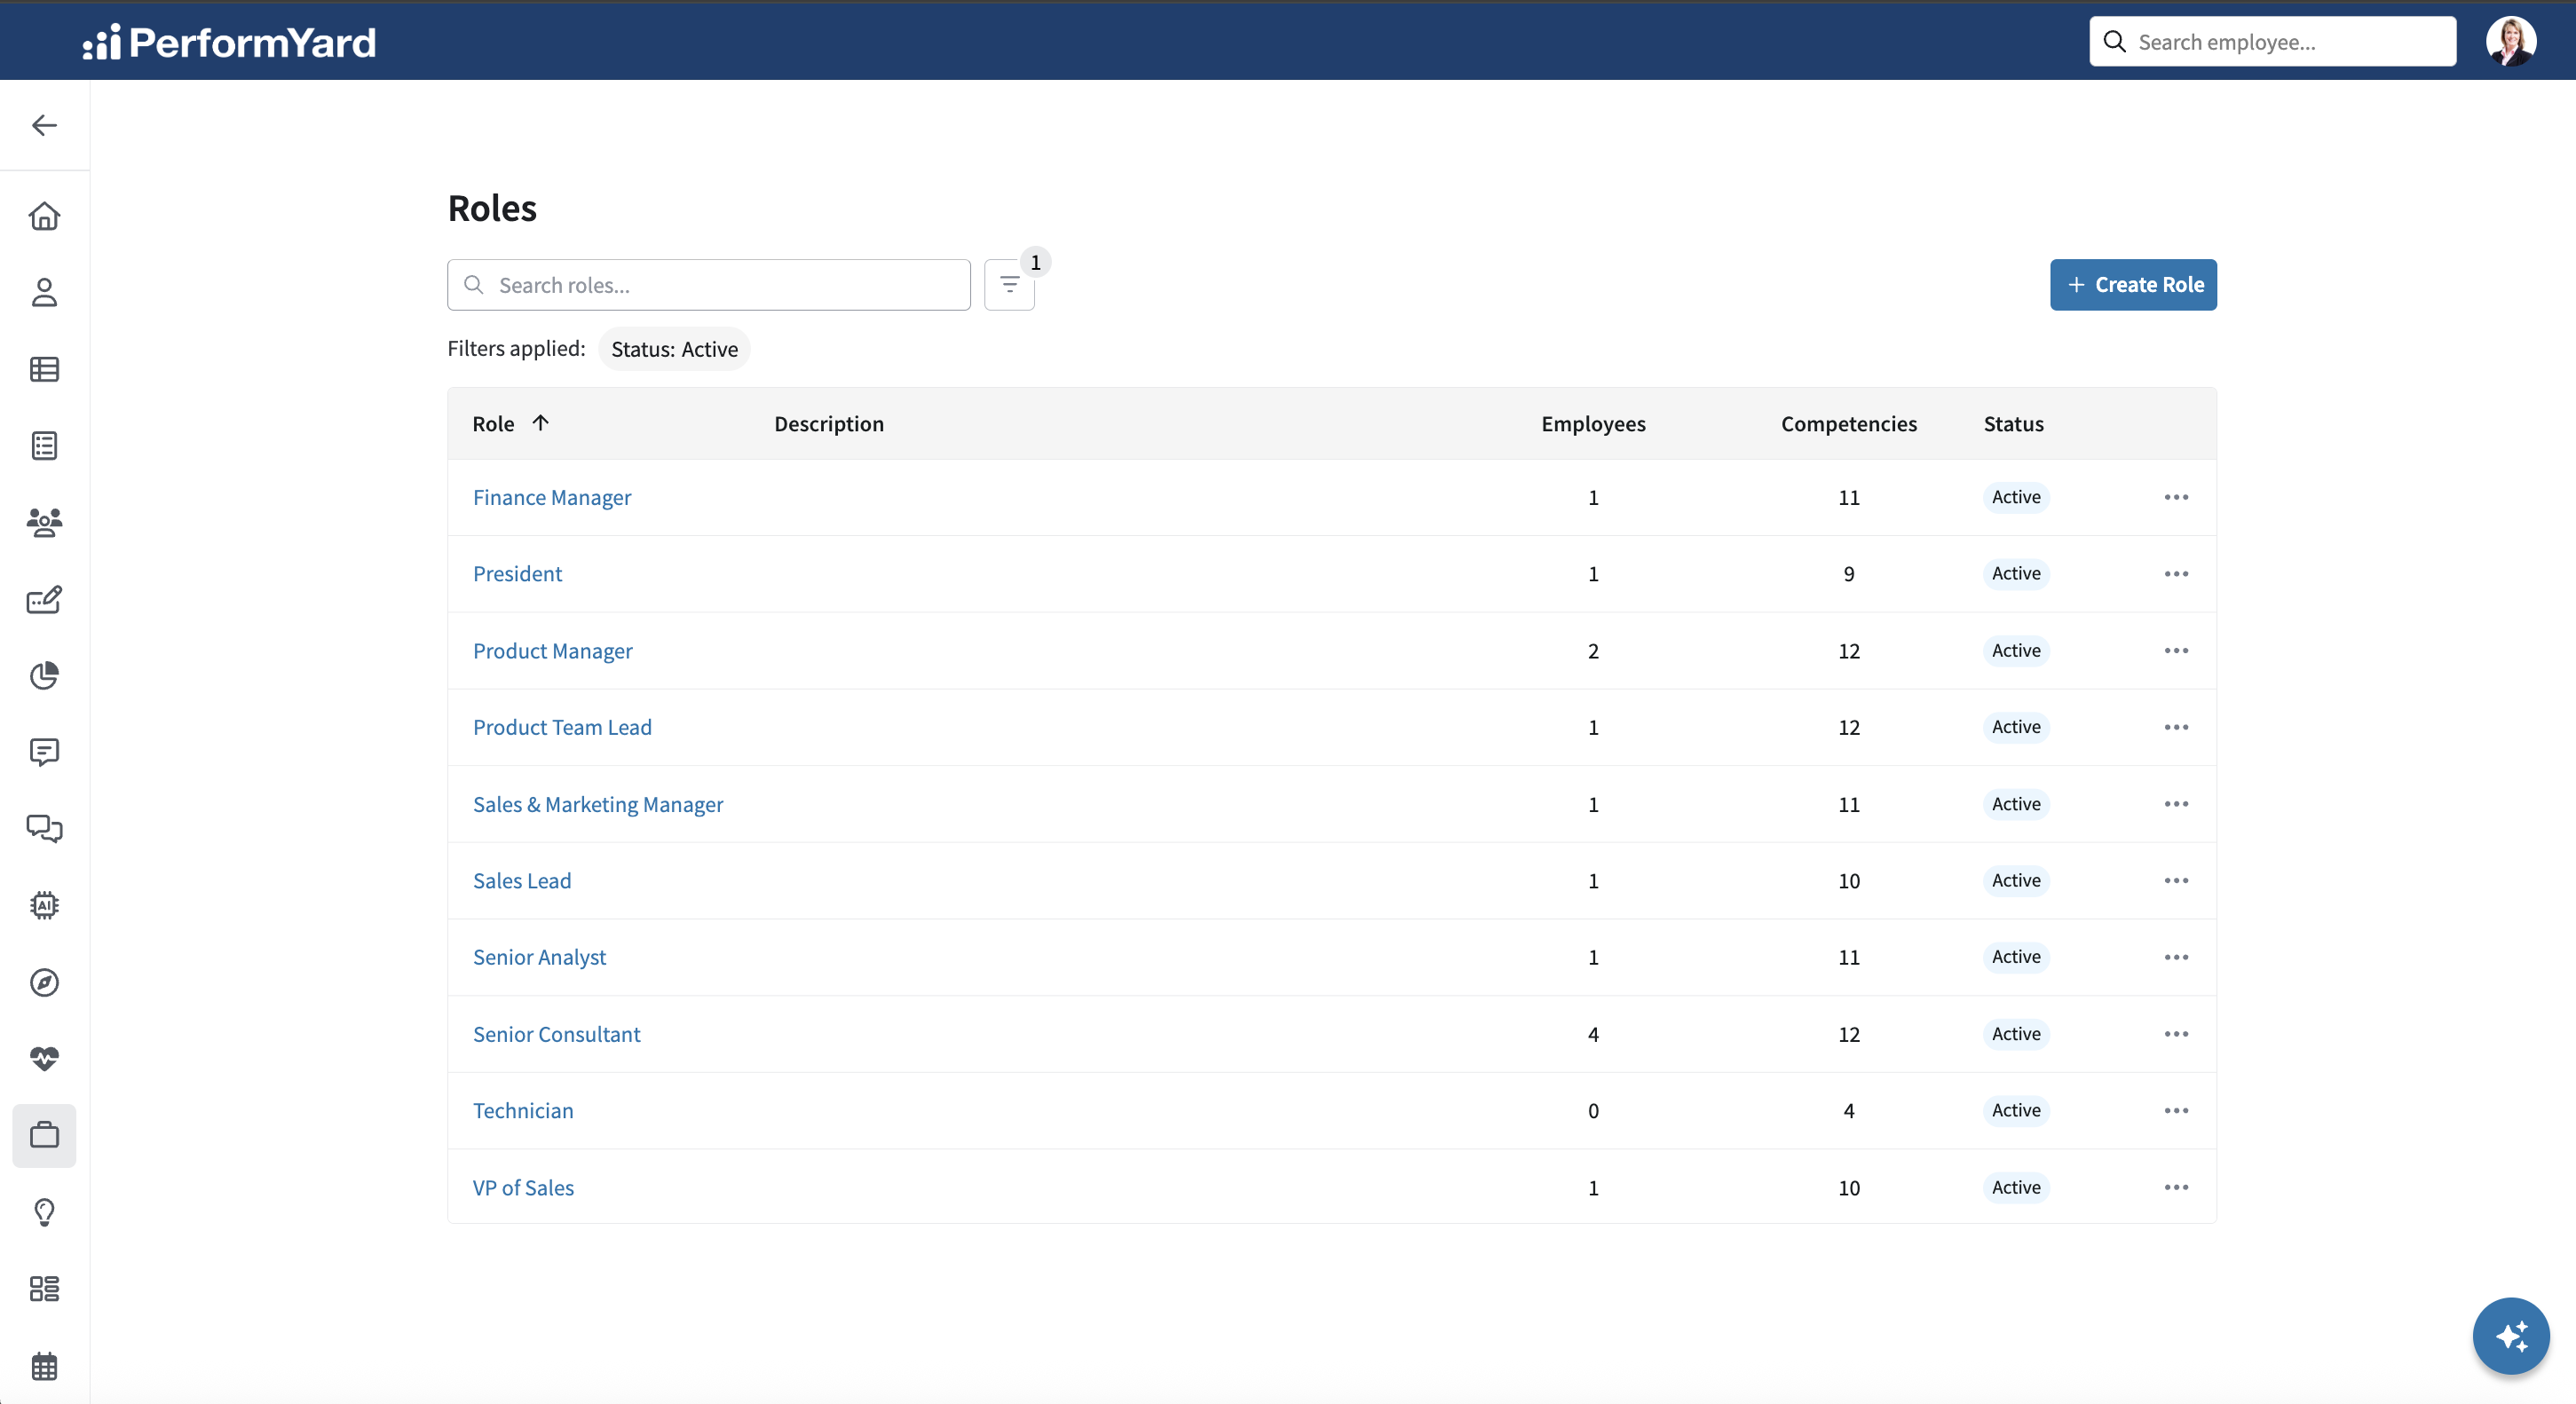
Once a role gets created, it will be reflected in the table on the Roles page. This page provides a list of every role created within your organization - including its description, the number of employees and competencies currently assigned to the role. To edit a role, click the ellipses icon on the far right of the table row and click Edit. You will be redirected to the Edit Role screen where you can view and update the role's current details. You can also archive a role by clicking the ellipses icon in the desired row and selecting Archive.
To access a role's detail page, click the role name in the table. The role detail page consists of two tabs:
- Competencies
- Employees
Admins also have the ability to edit and archive the role from within its detail page. To do so, click the Options button in the top right corner and select the desired action.
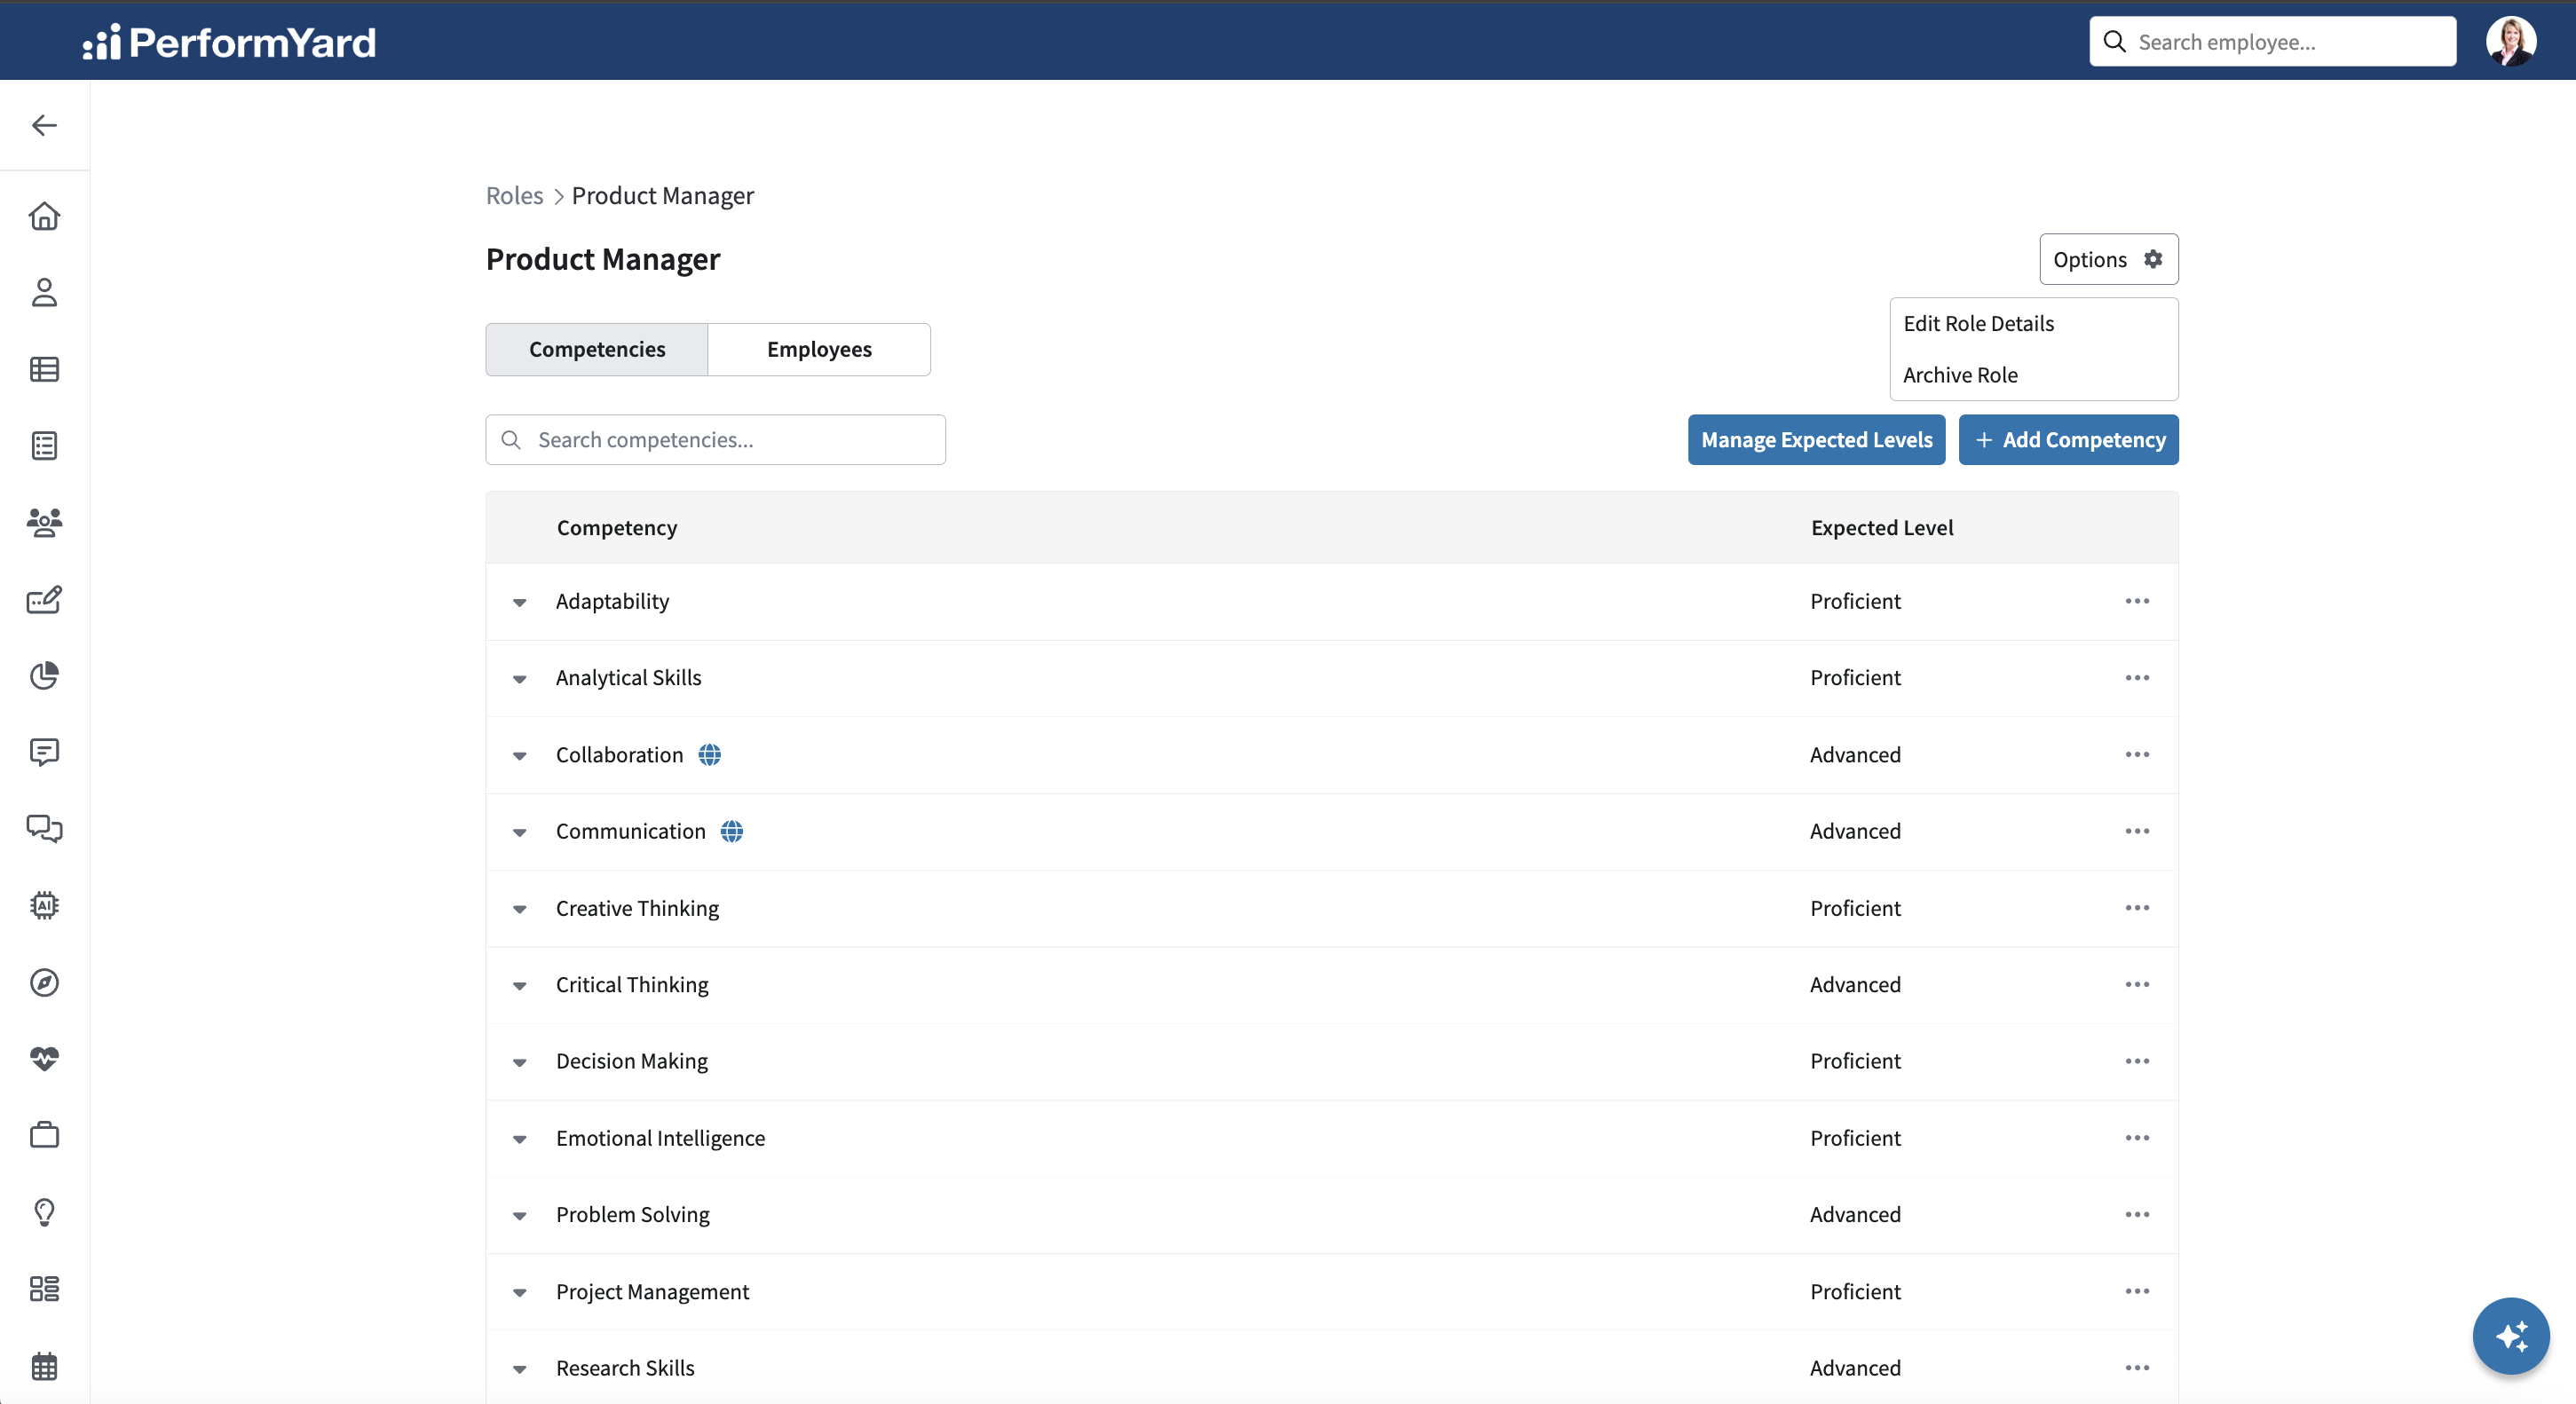
Competencies tab
This view lists every competency associated to the role, with a globe icon displaying next to those set as a company-wide competency. To associate another competency and specify the level expected from the role, click the Add Competency button in the top right corner.
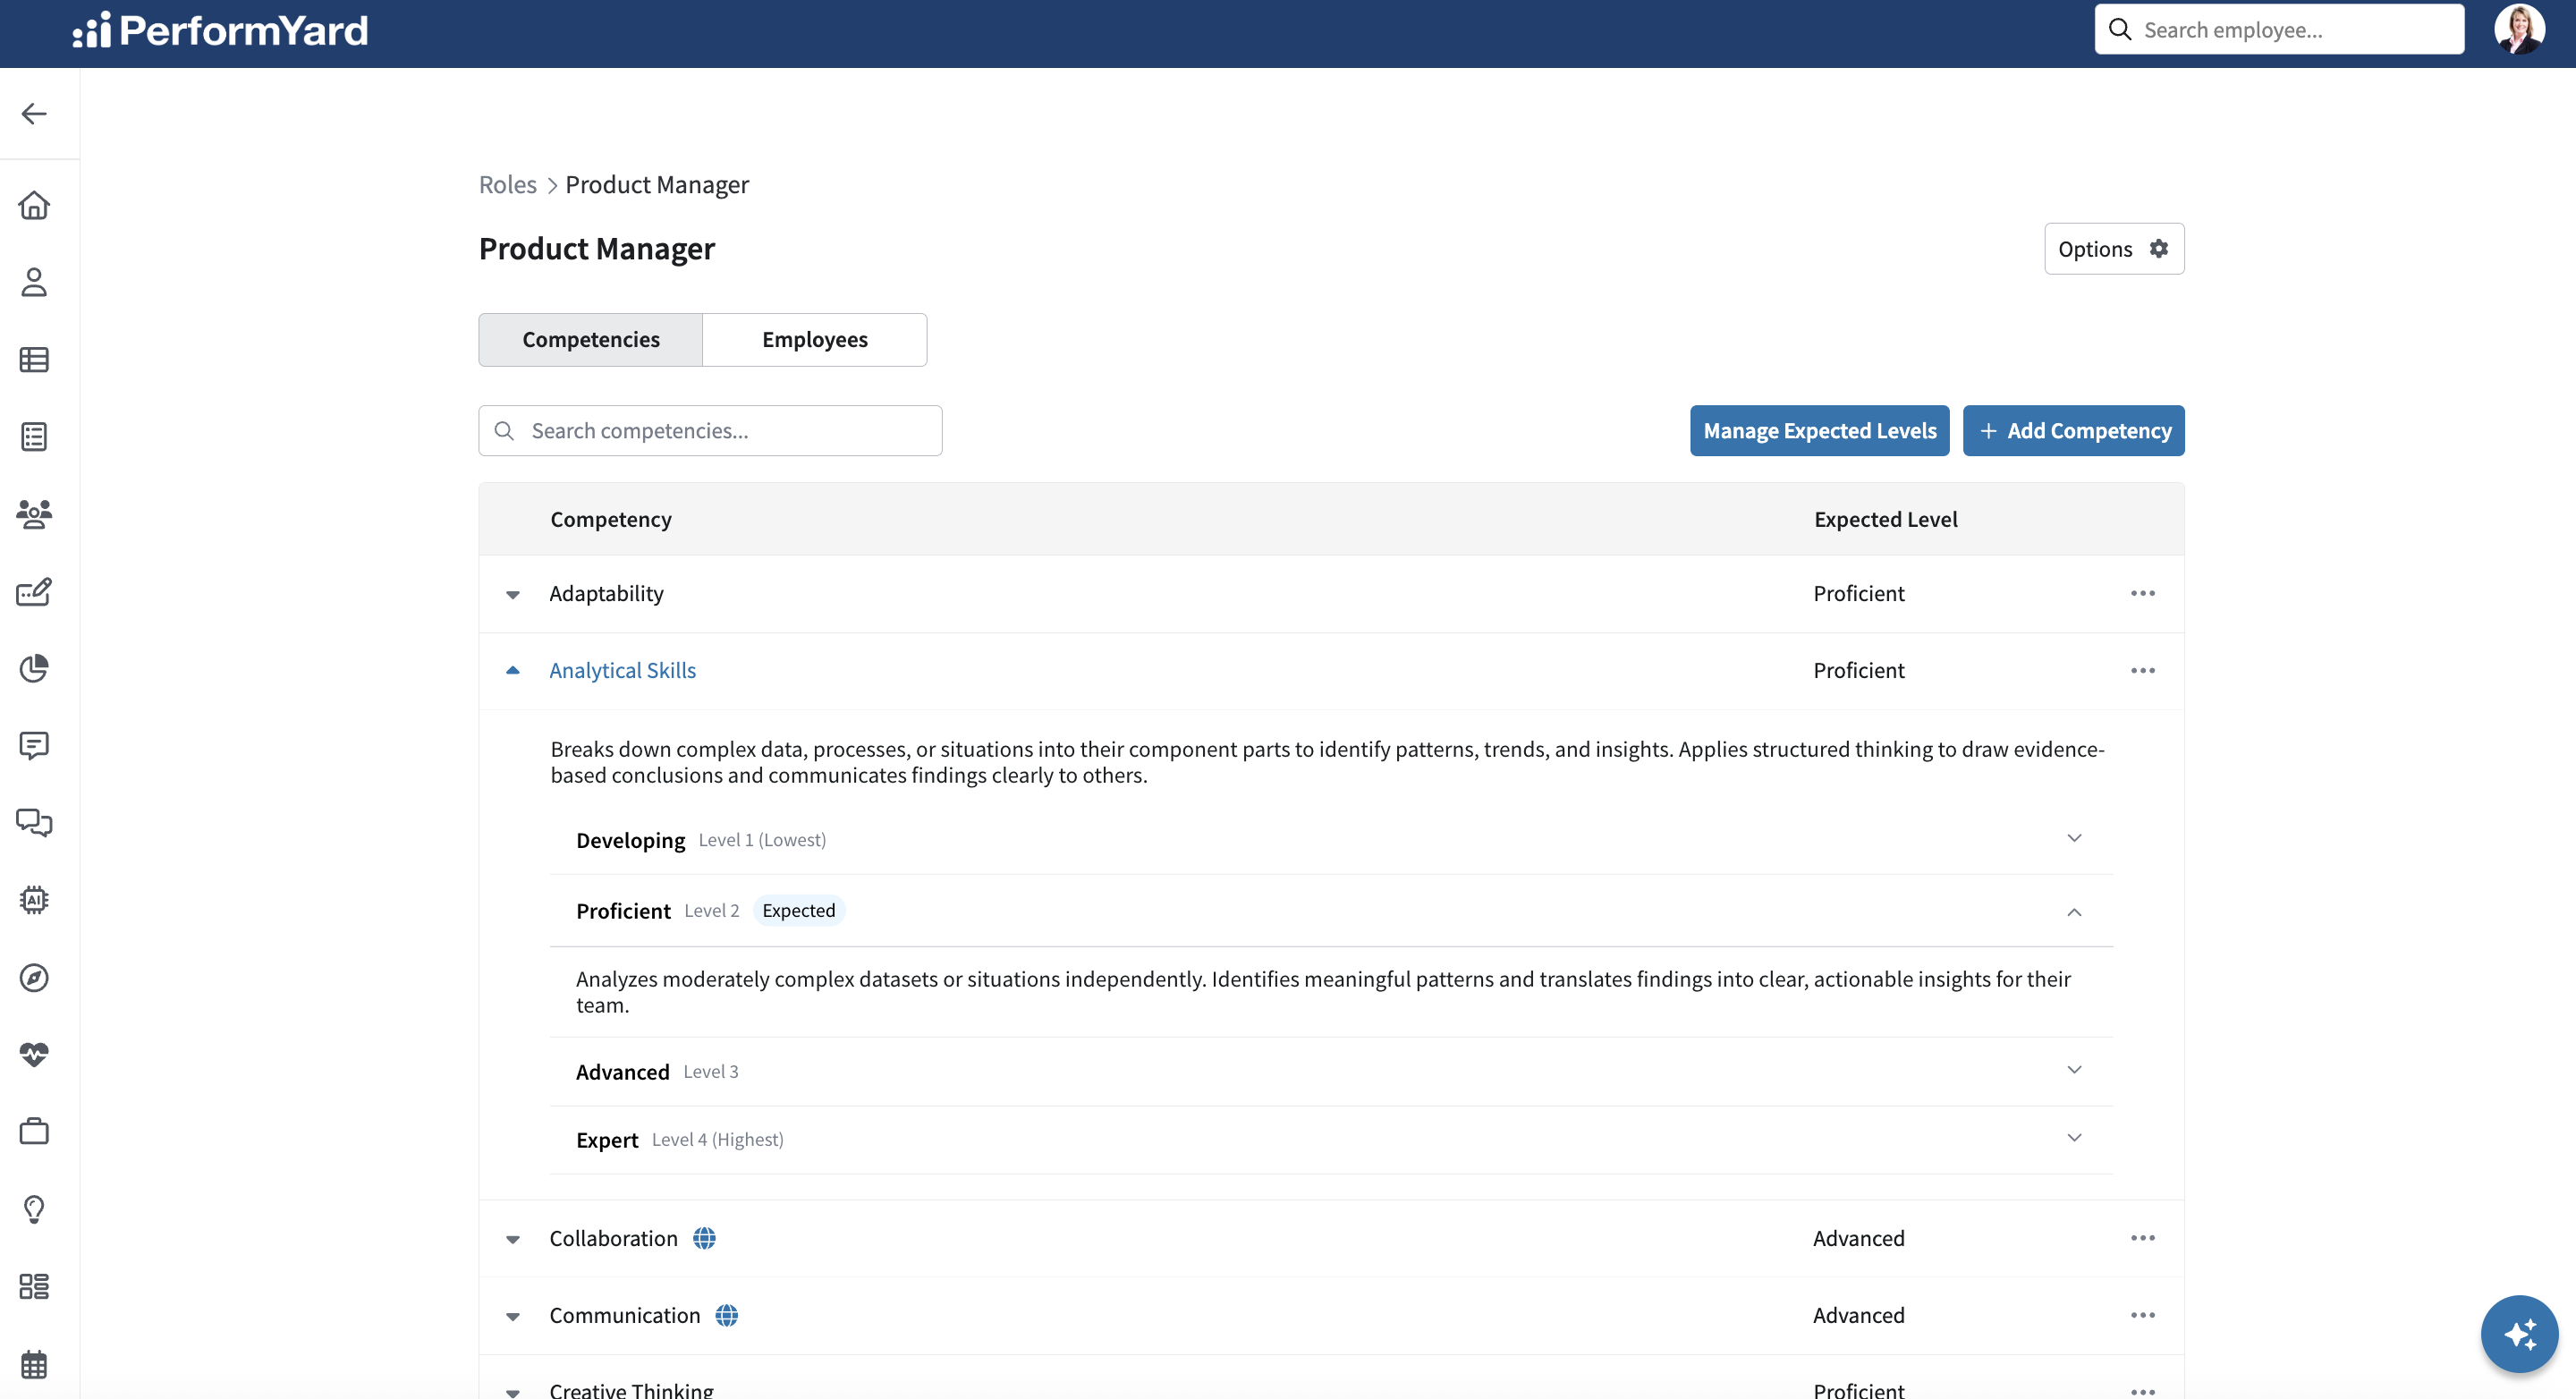
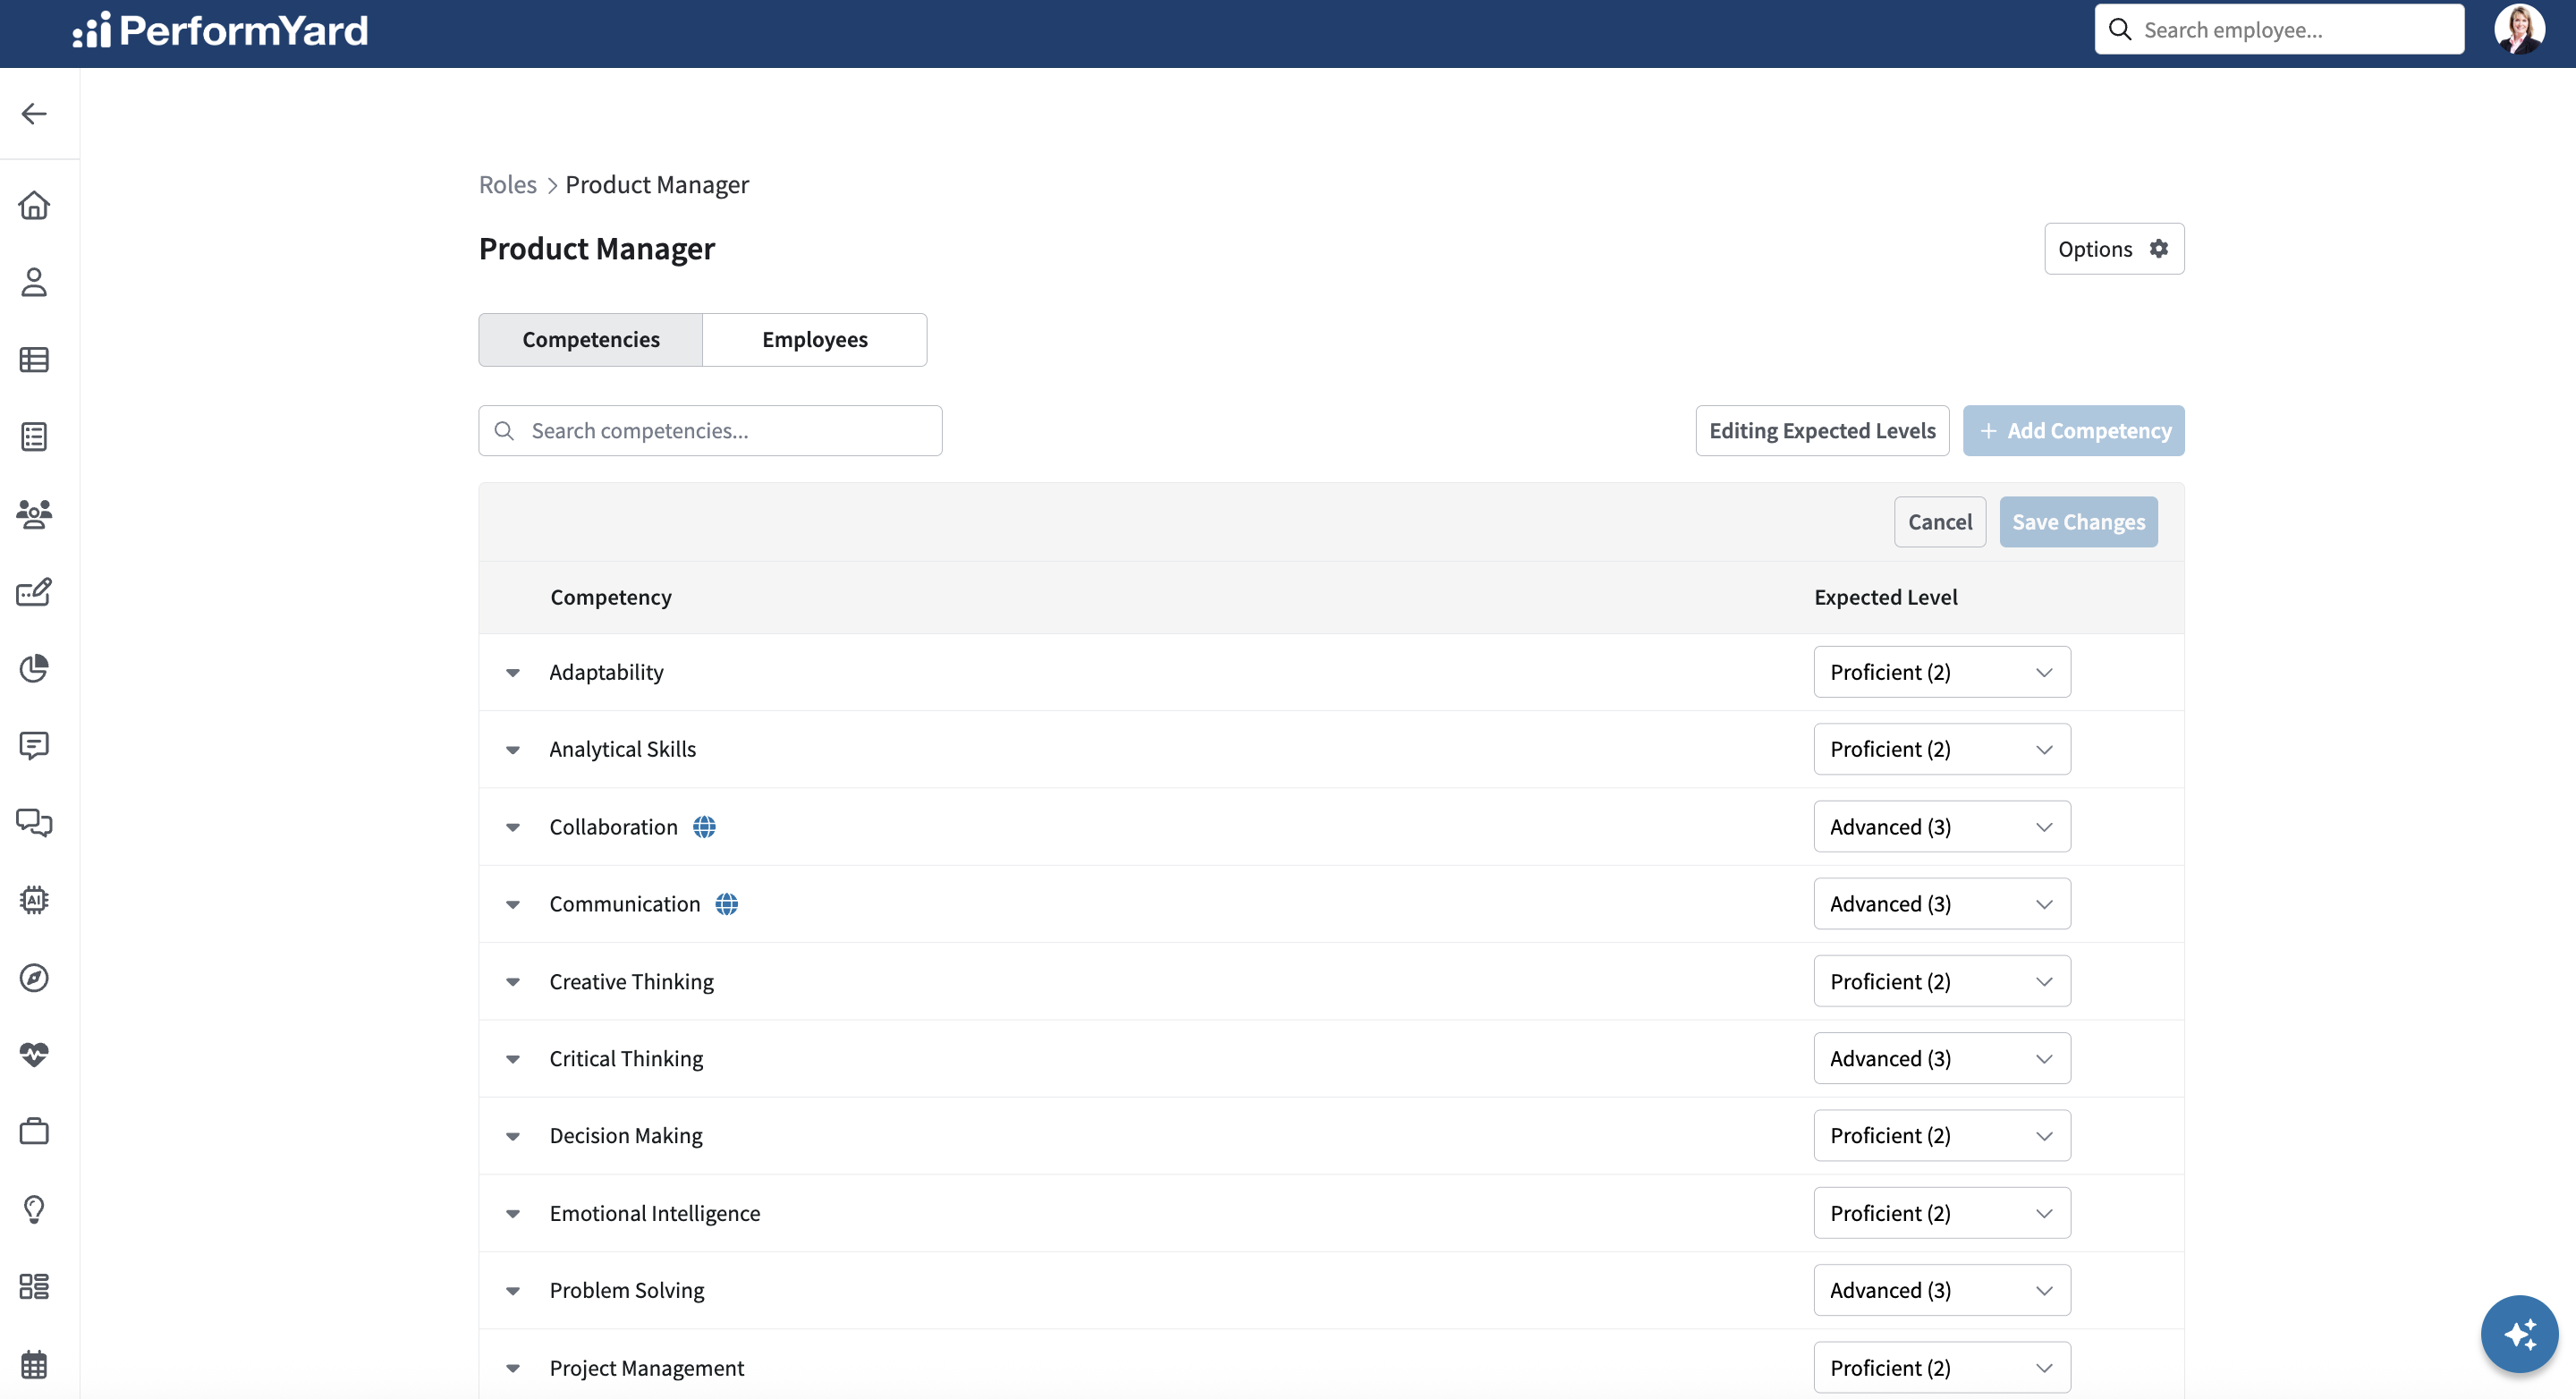
In the role detail table, you can expand each competency row to view the competency description and its defined levels. To remove a competency from the role, click the ellipsis icon on the right of the desired competency row and select Remove. You can also choose to edit the expected level for the individual competency, or use the bulk update functionality via the Manage Expected Levels button in the top right corner.
Employees tab
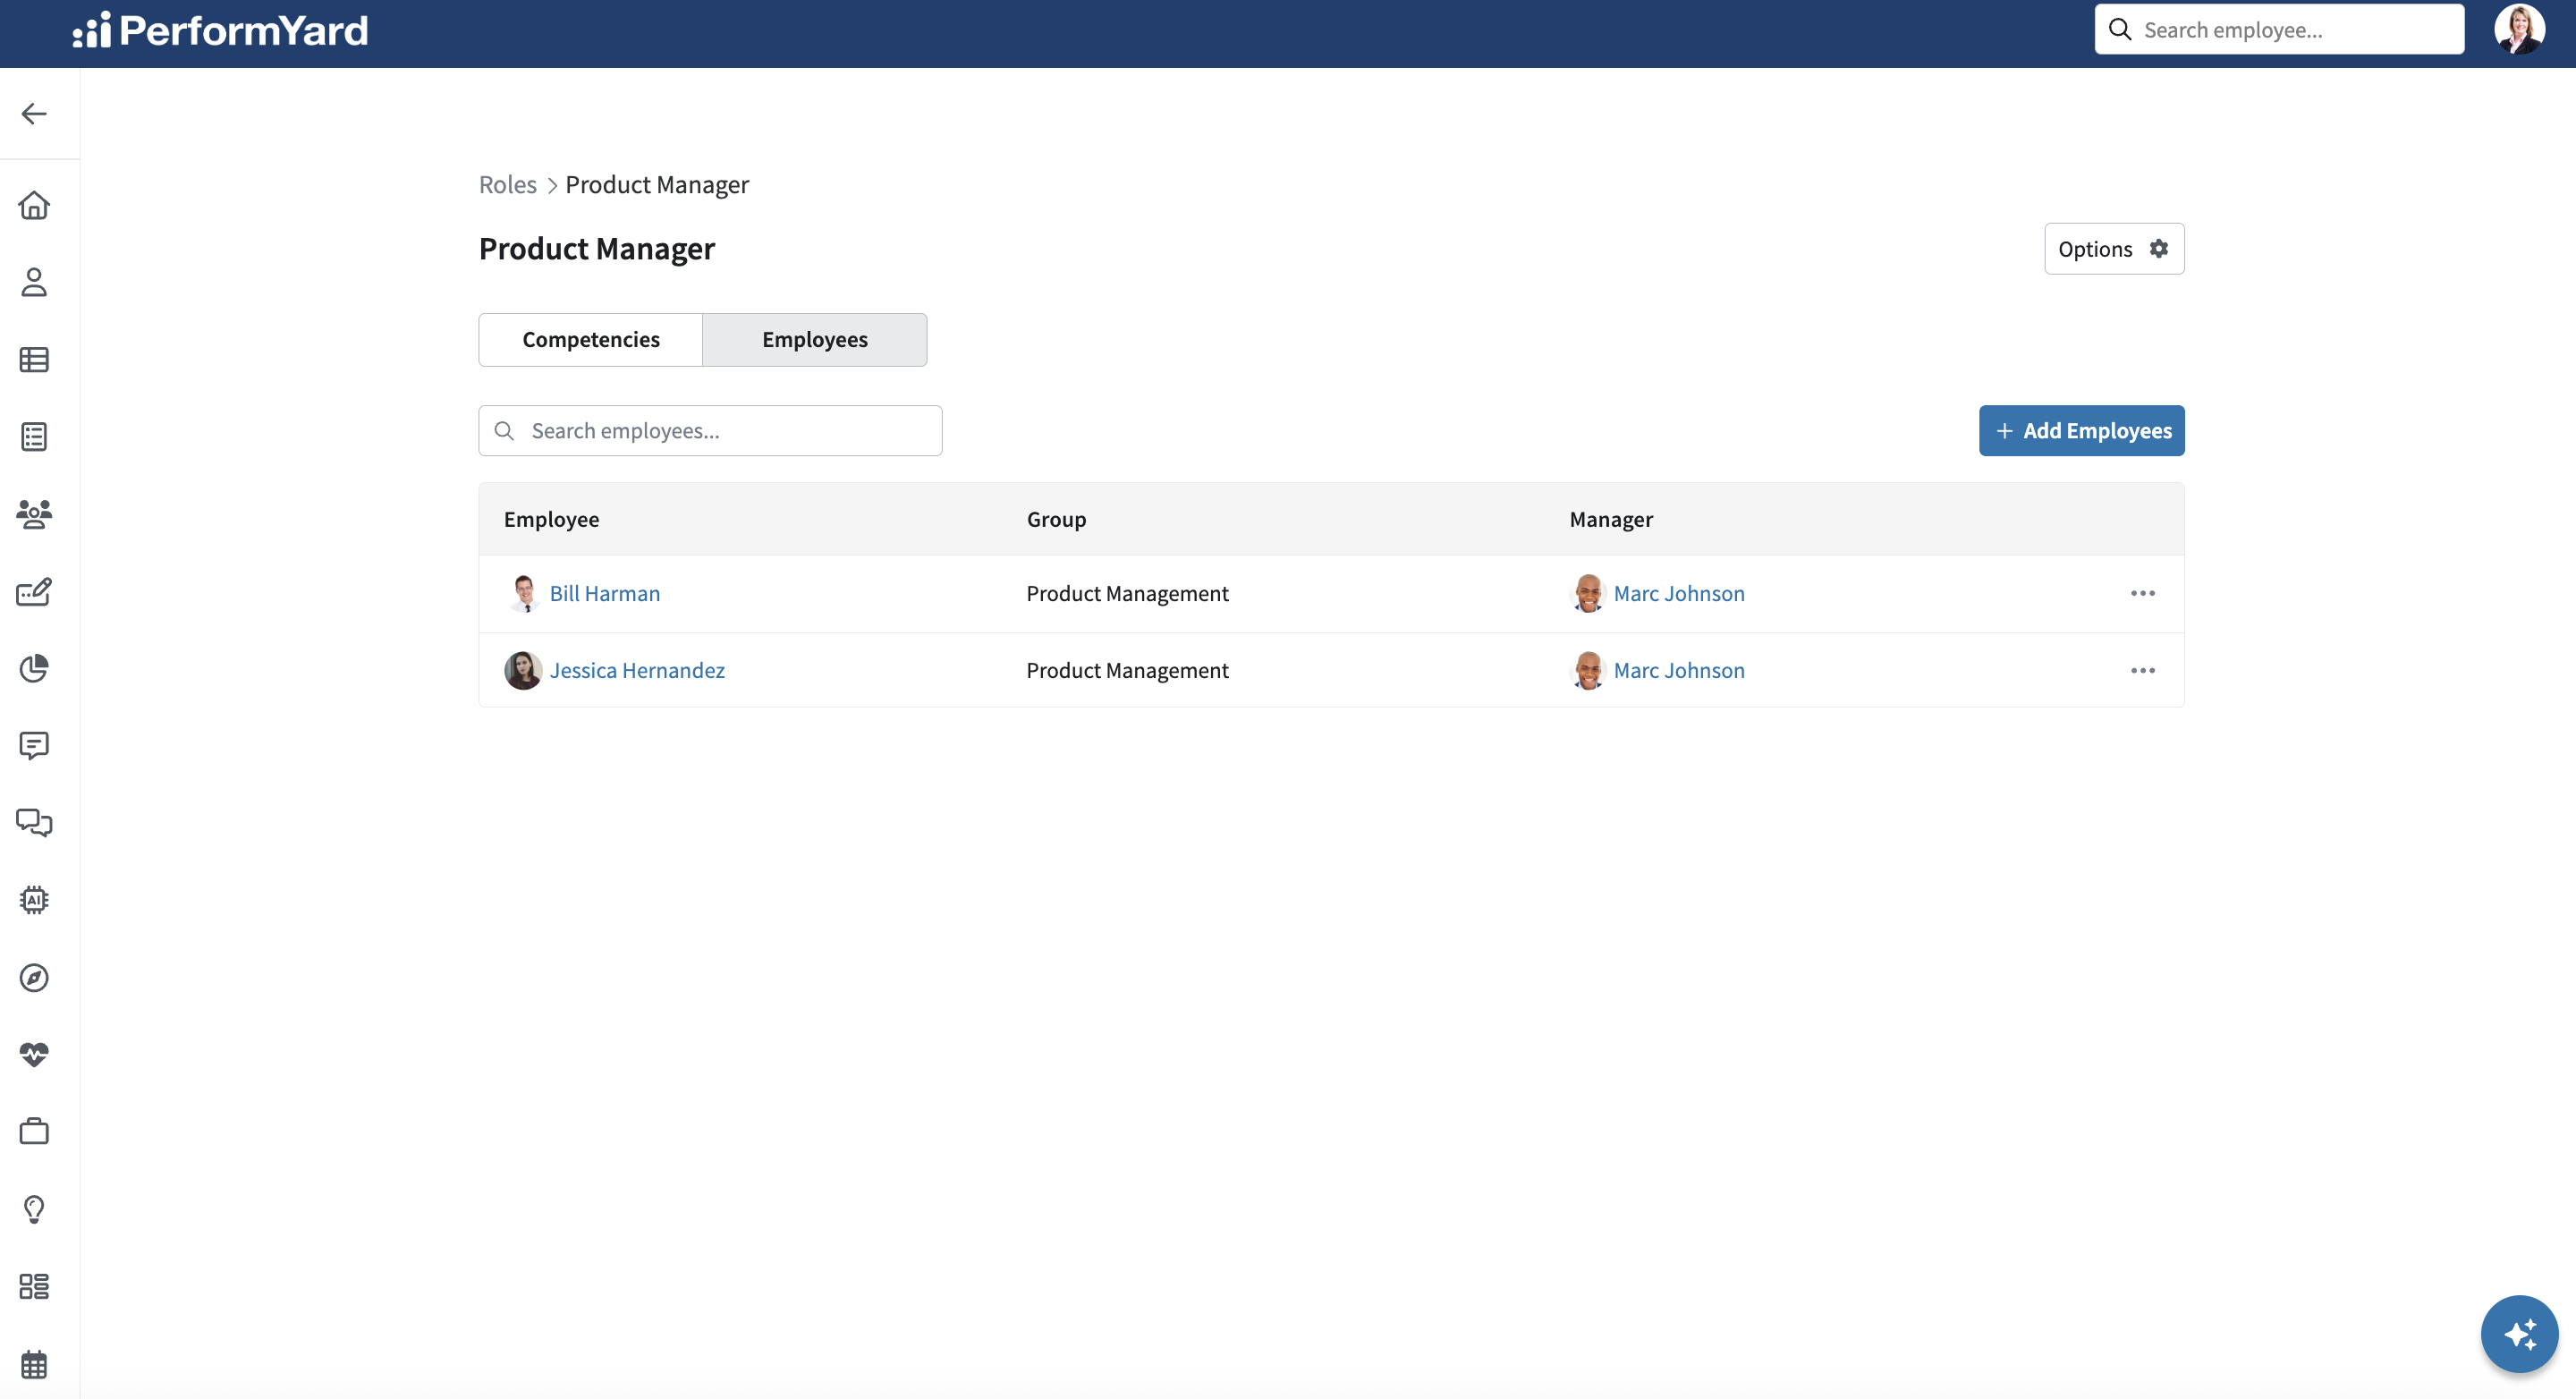
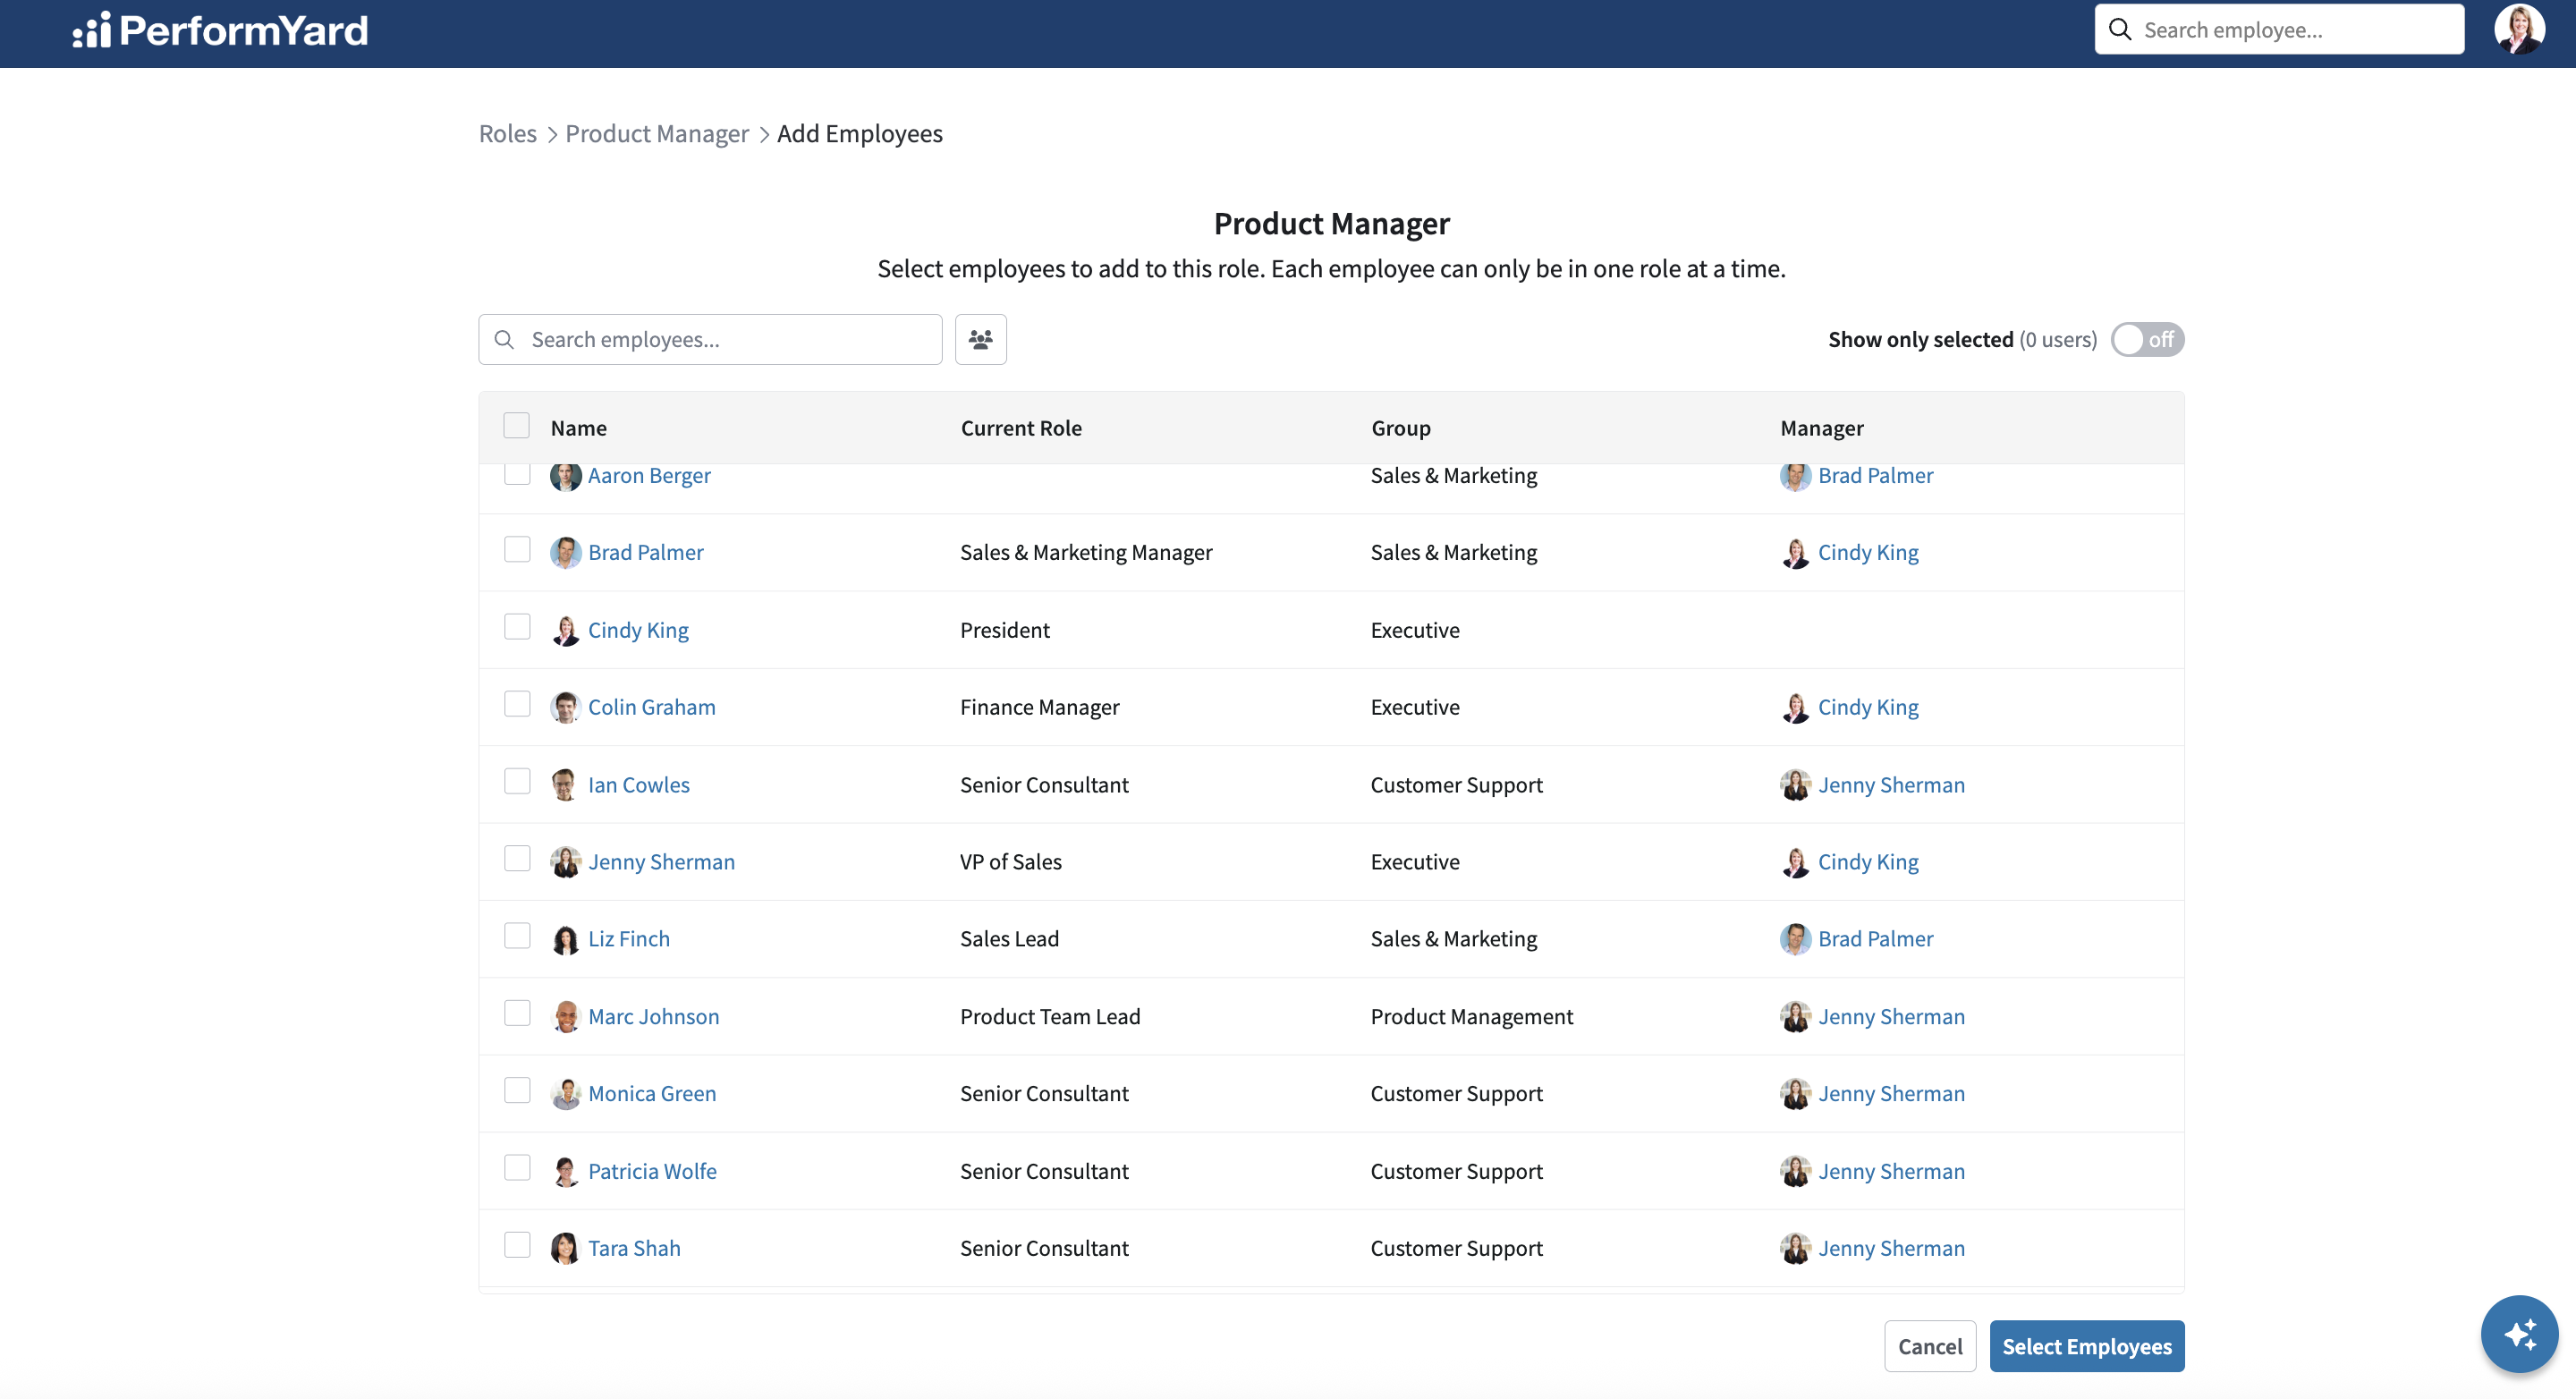
This view lists every employee currently assigned to the role, along with their group and manager details. You can assign more employees to the role by clicking the Add Employees button in the top right corner and selecting employees in the grid. Once you've selected the desired employees, click the Select Employees button near the bottom right of the table. Once an employee gets assigned to a role, the competencies and expected levels associated to that role will be automatically assigned to the individual employee.