Managing company resources (admin)
Introduction
Administrators have the ability to manage both Company Documents and Company Links, determining which documents are available to all users and which links will be shown to all users.
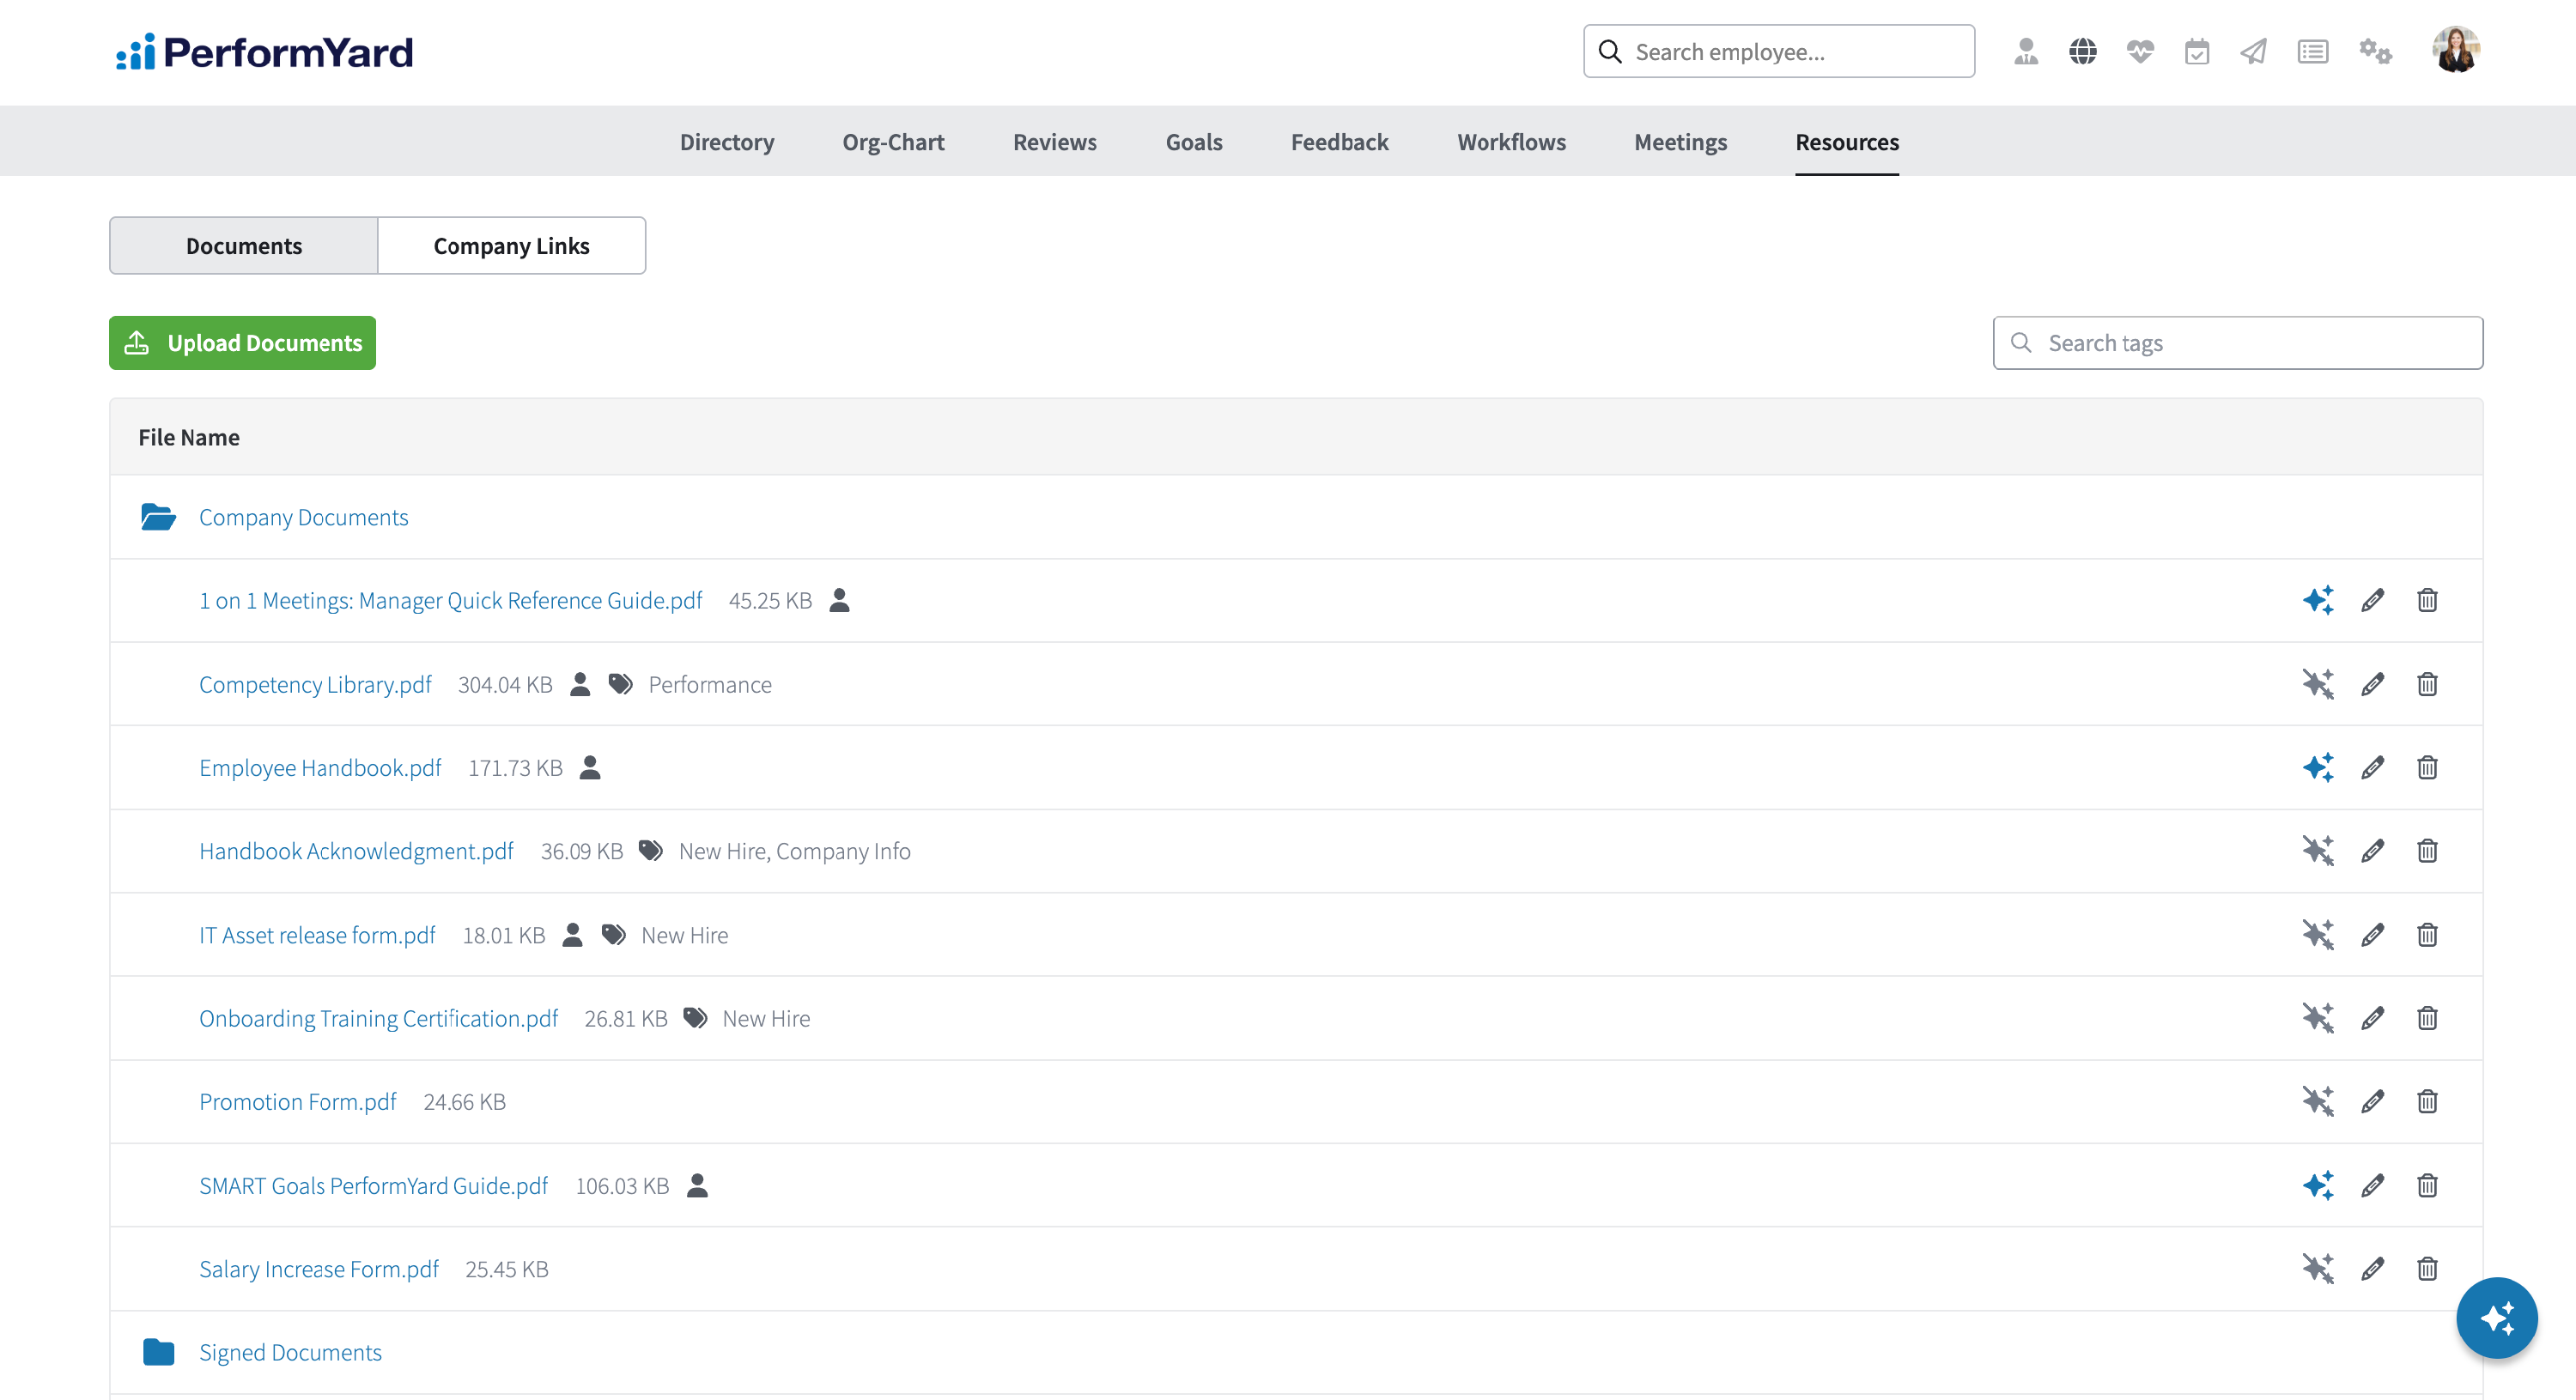
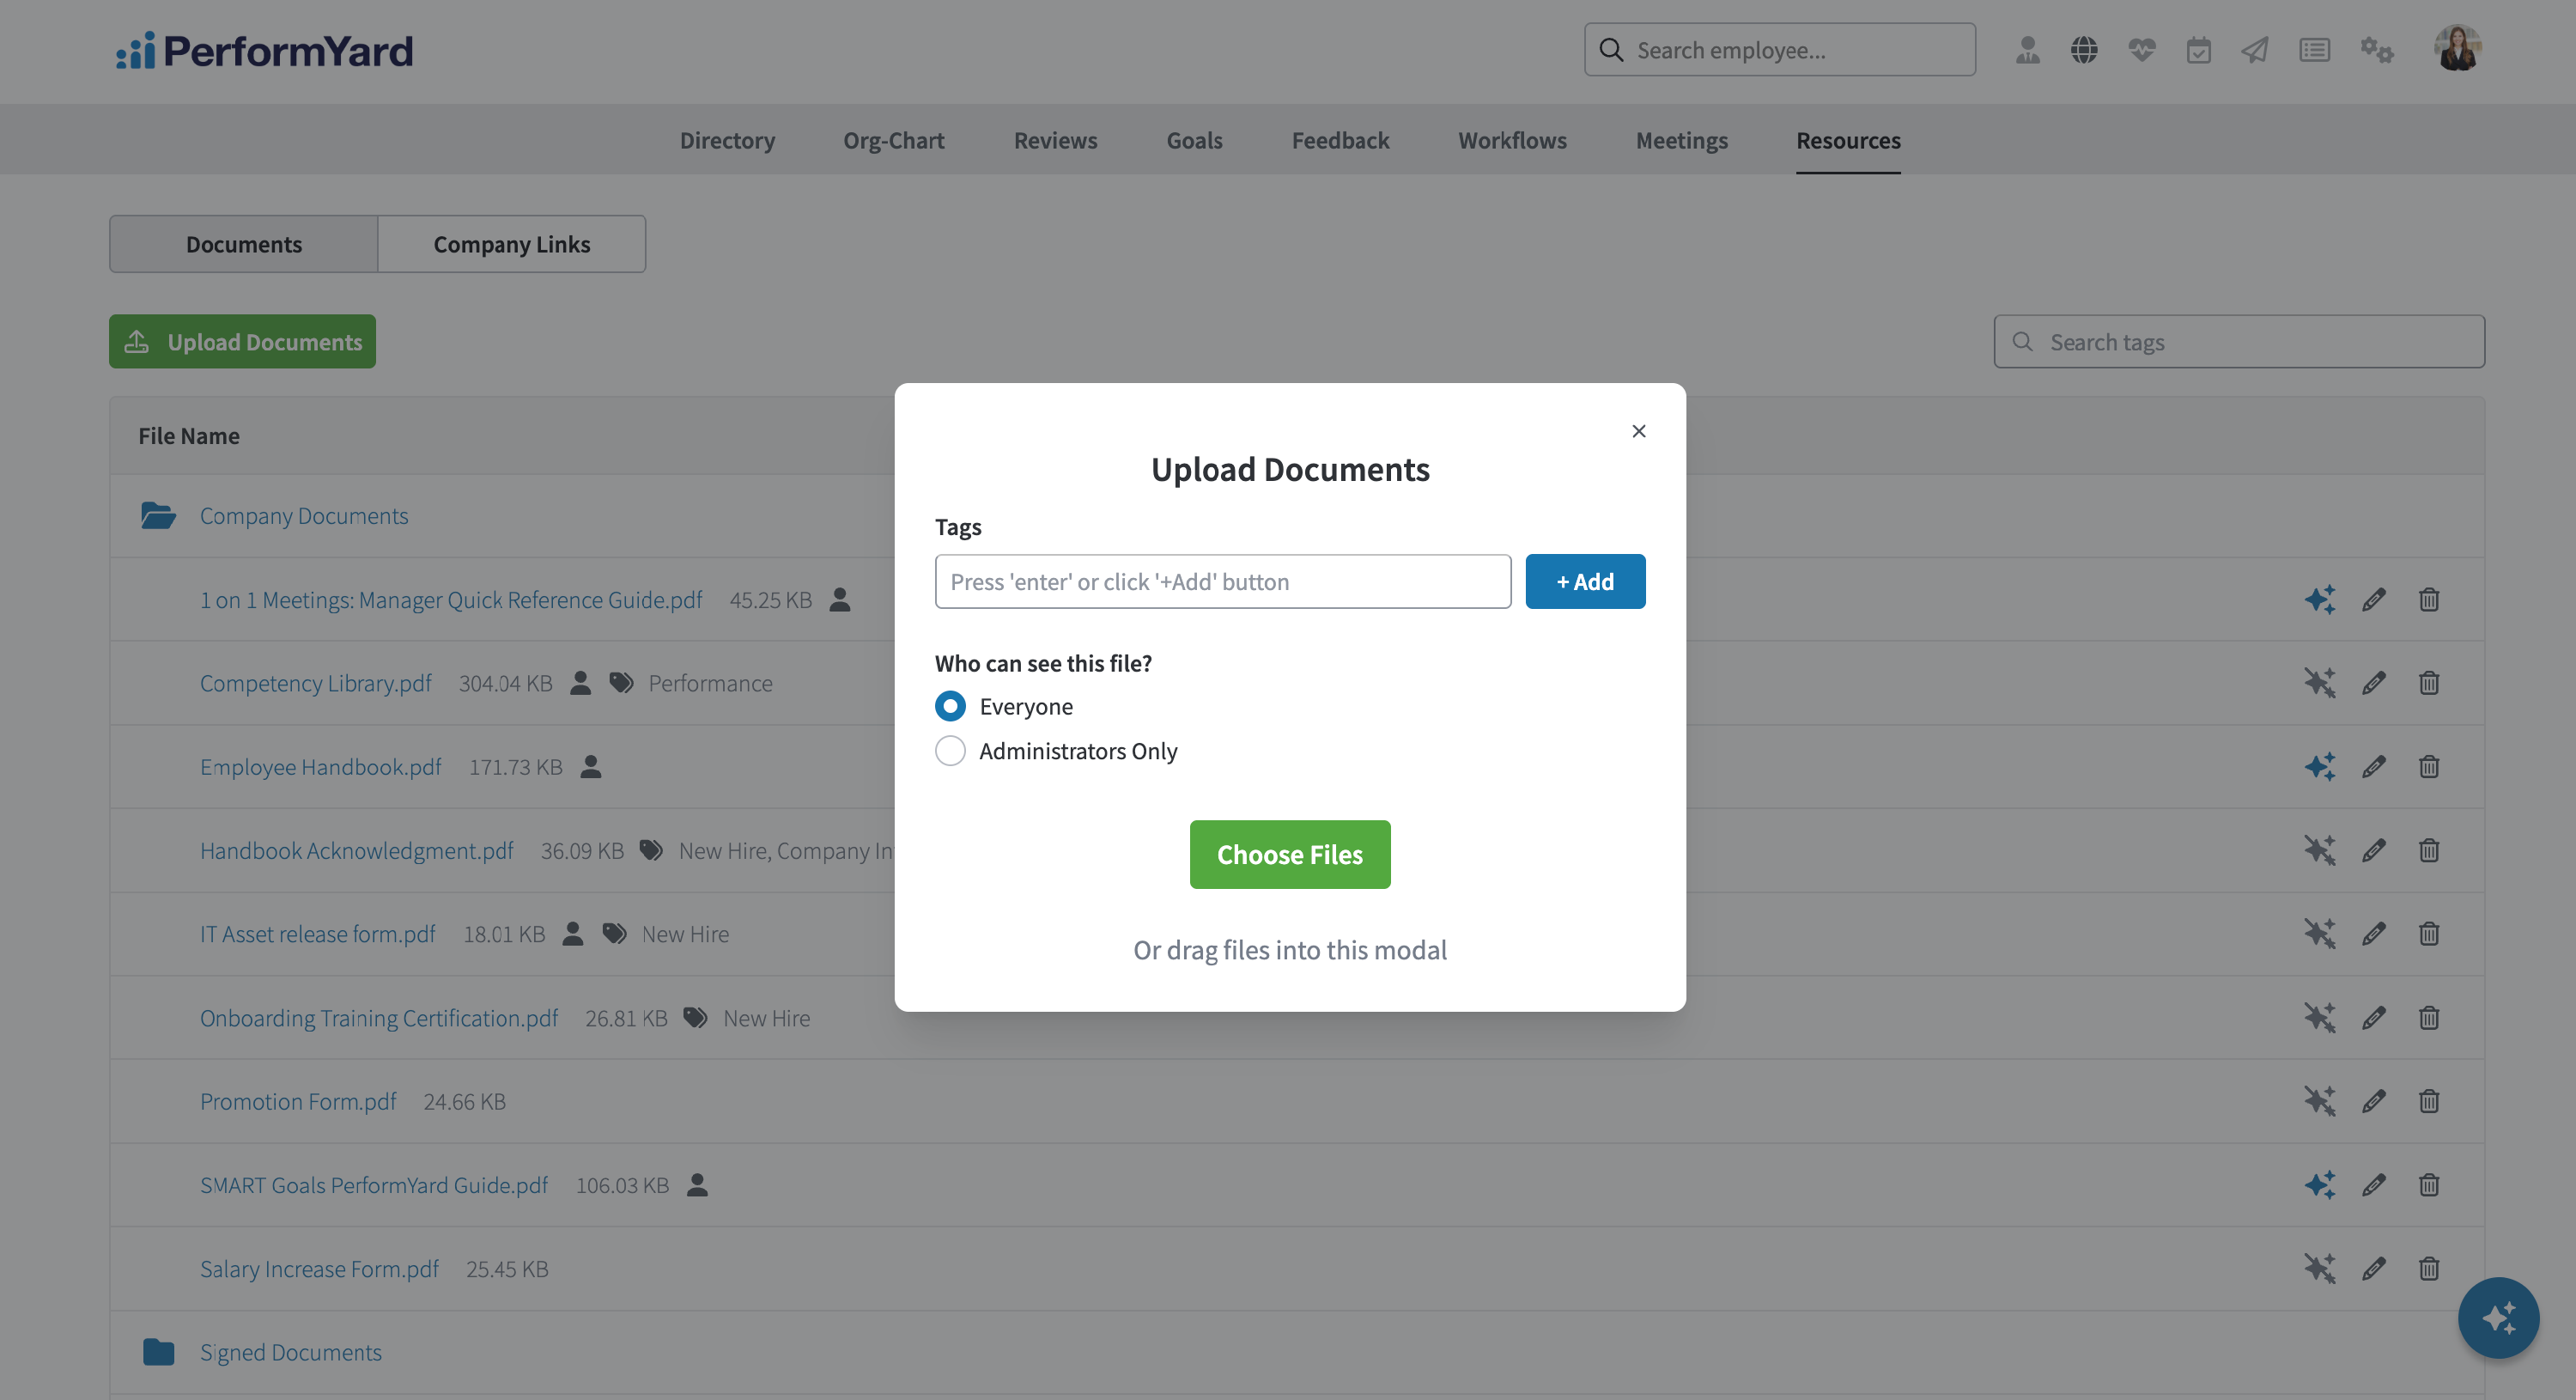
Uploading Documents
To add a document, click Upload Documents. In the pop-up window, you can enter descriptive tags and configure view permissions for the file(s) you are uploading. Selecting Everyone allows all employees to view the file. If Everyone is not selected, access is restricted to administrators only.
Next, you can:
- Click Choose Files and use the file picker to select one or more documents to upload
- Drag and drop one or more documents onto the page
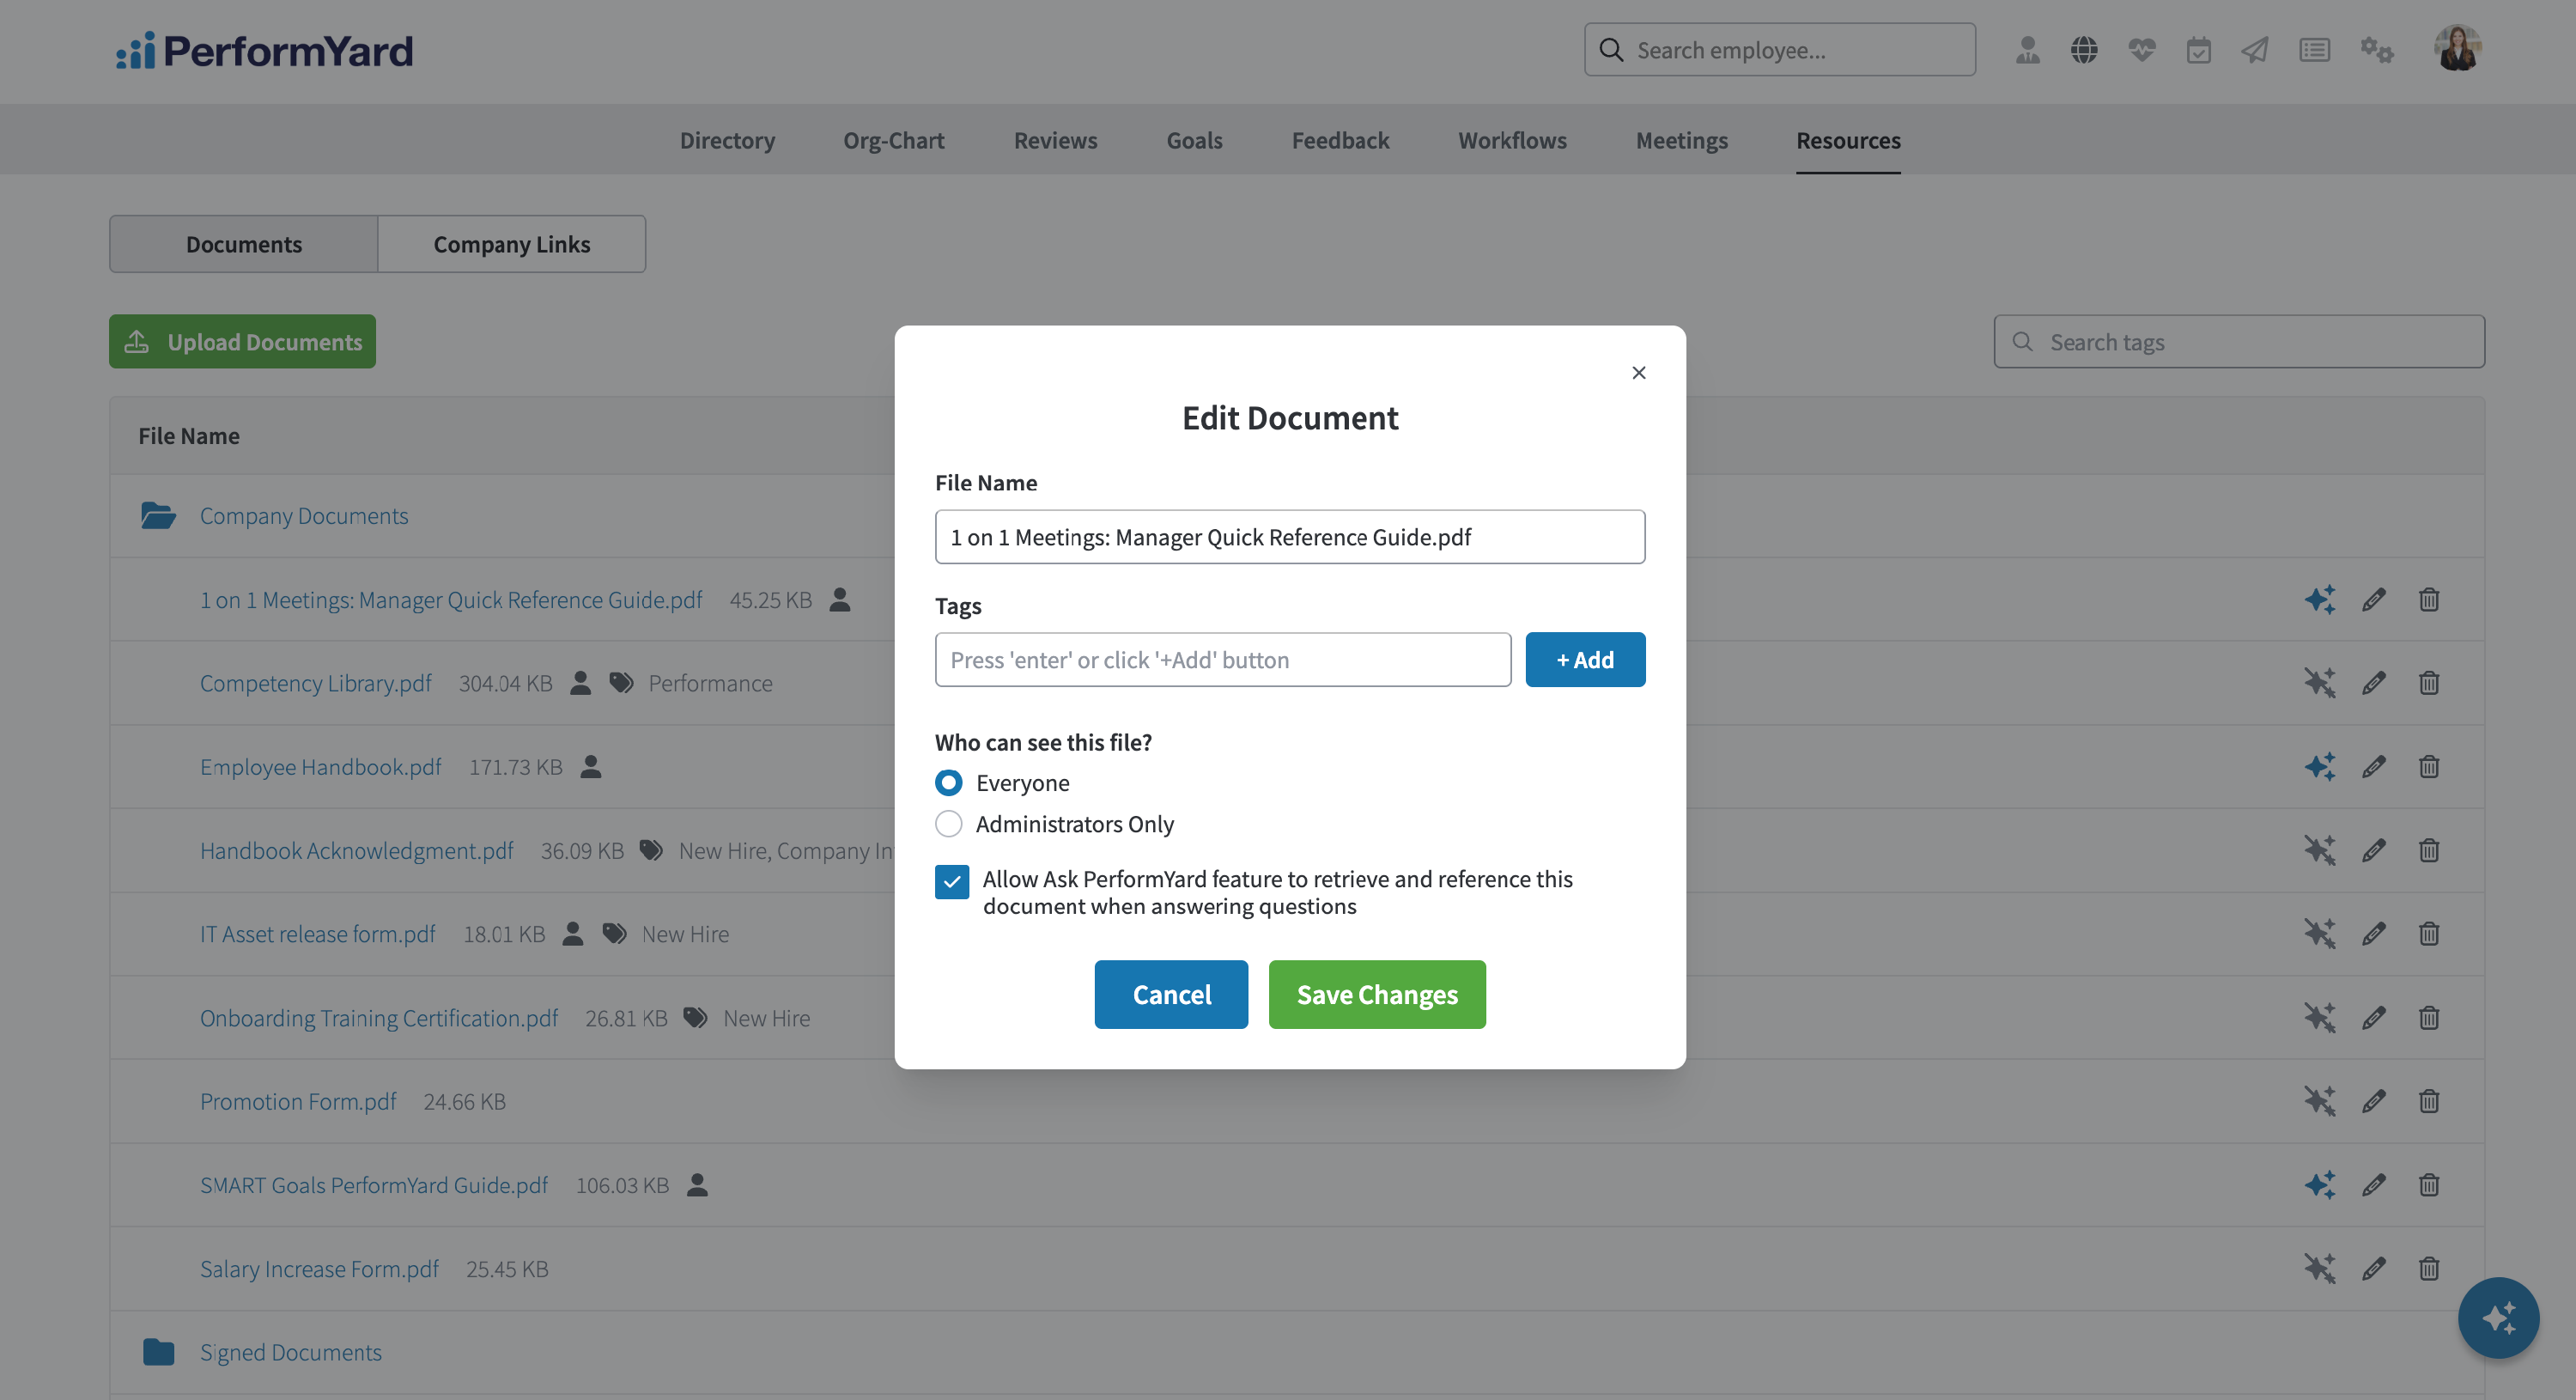
Managing Documents
To update a document's attributes, click the pencil icon next to the document name. In the pop-up window, you can edit the document's name, tags, and visibility permissions. If you have a PerformYard Premium license and Ask PerformYard is enabled, you can also manage whether the document is included in Ask HR's knowledge base. Read more about Ask PerformYard here.
To delete a document, click the trash can icon to the right of the document name and then Yes, Delete in the confirmation pop up.
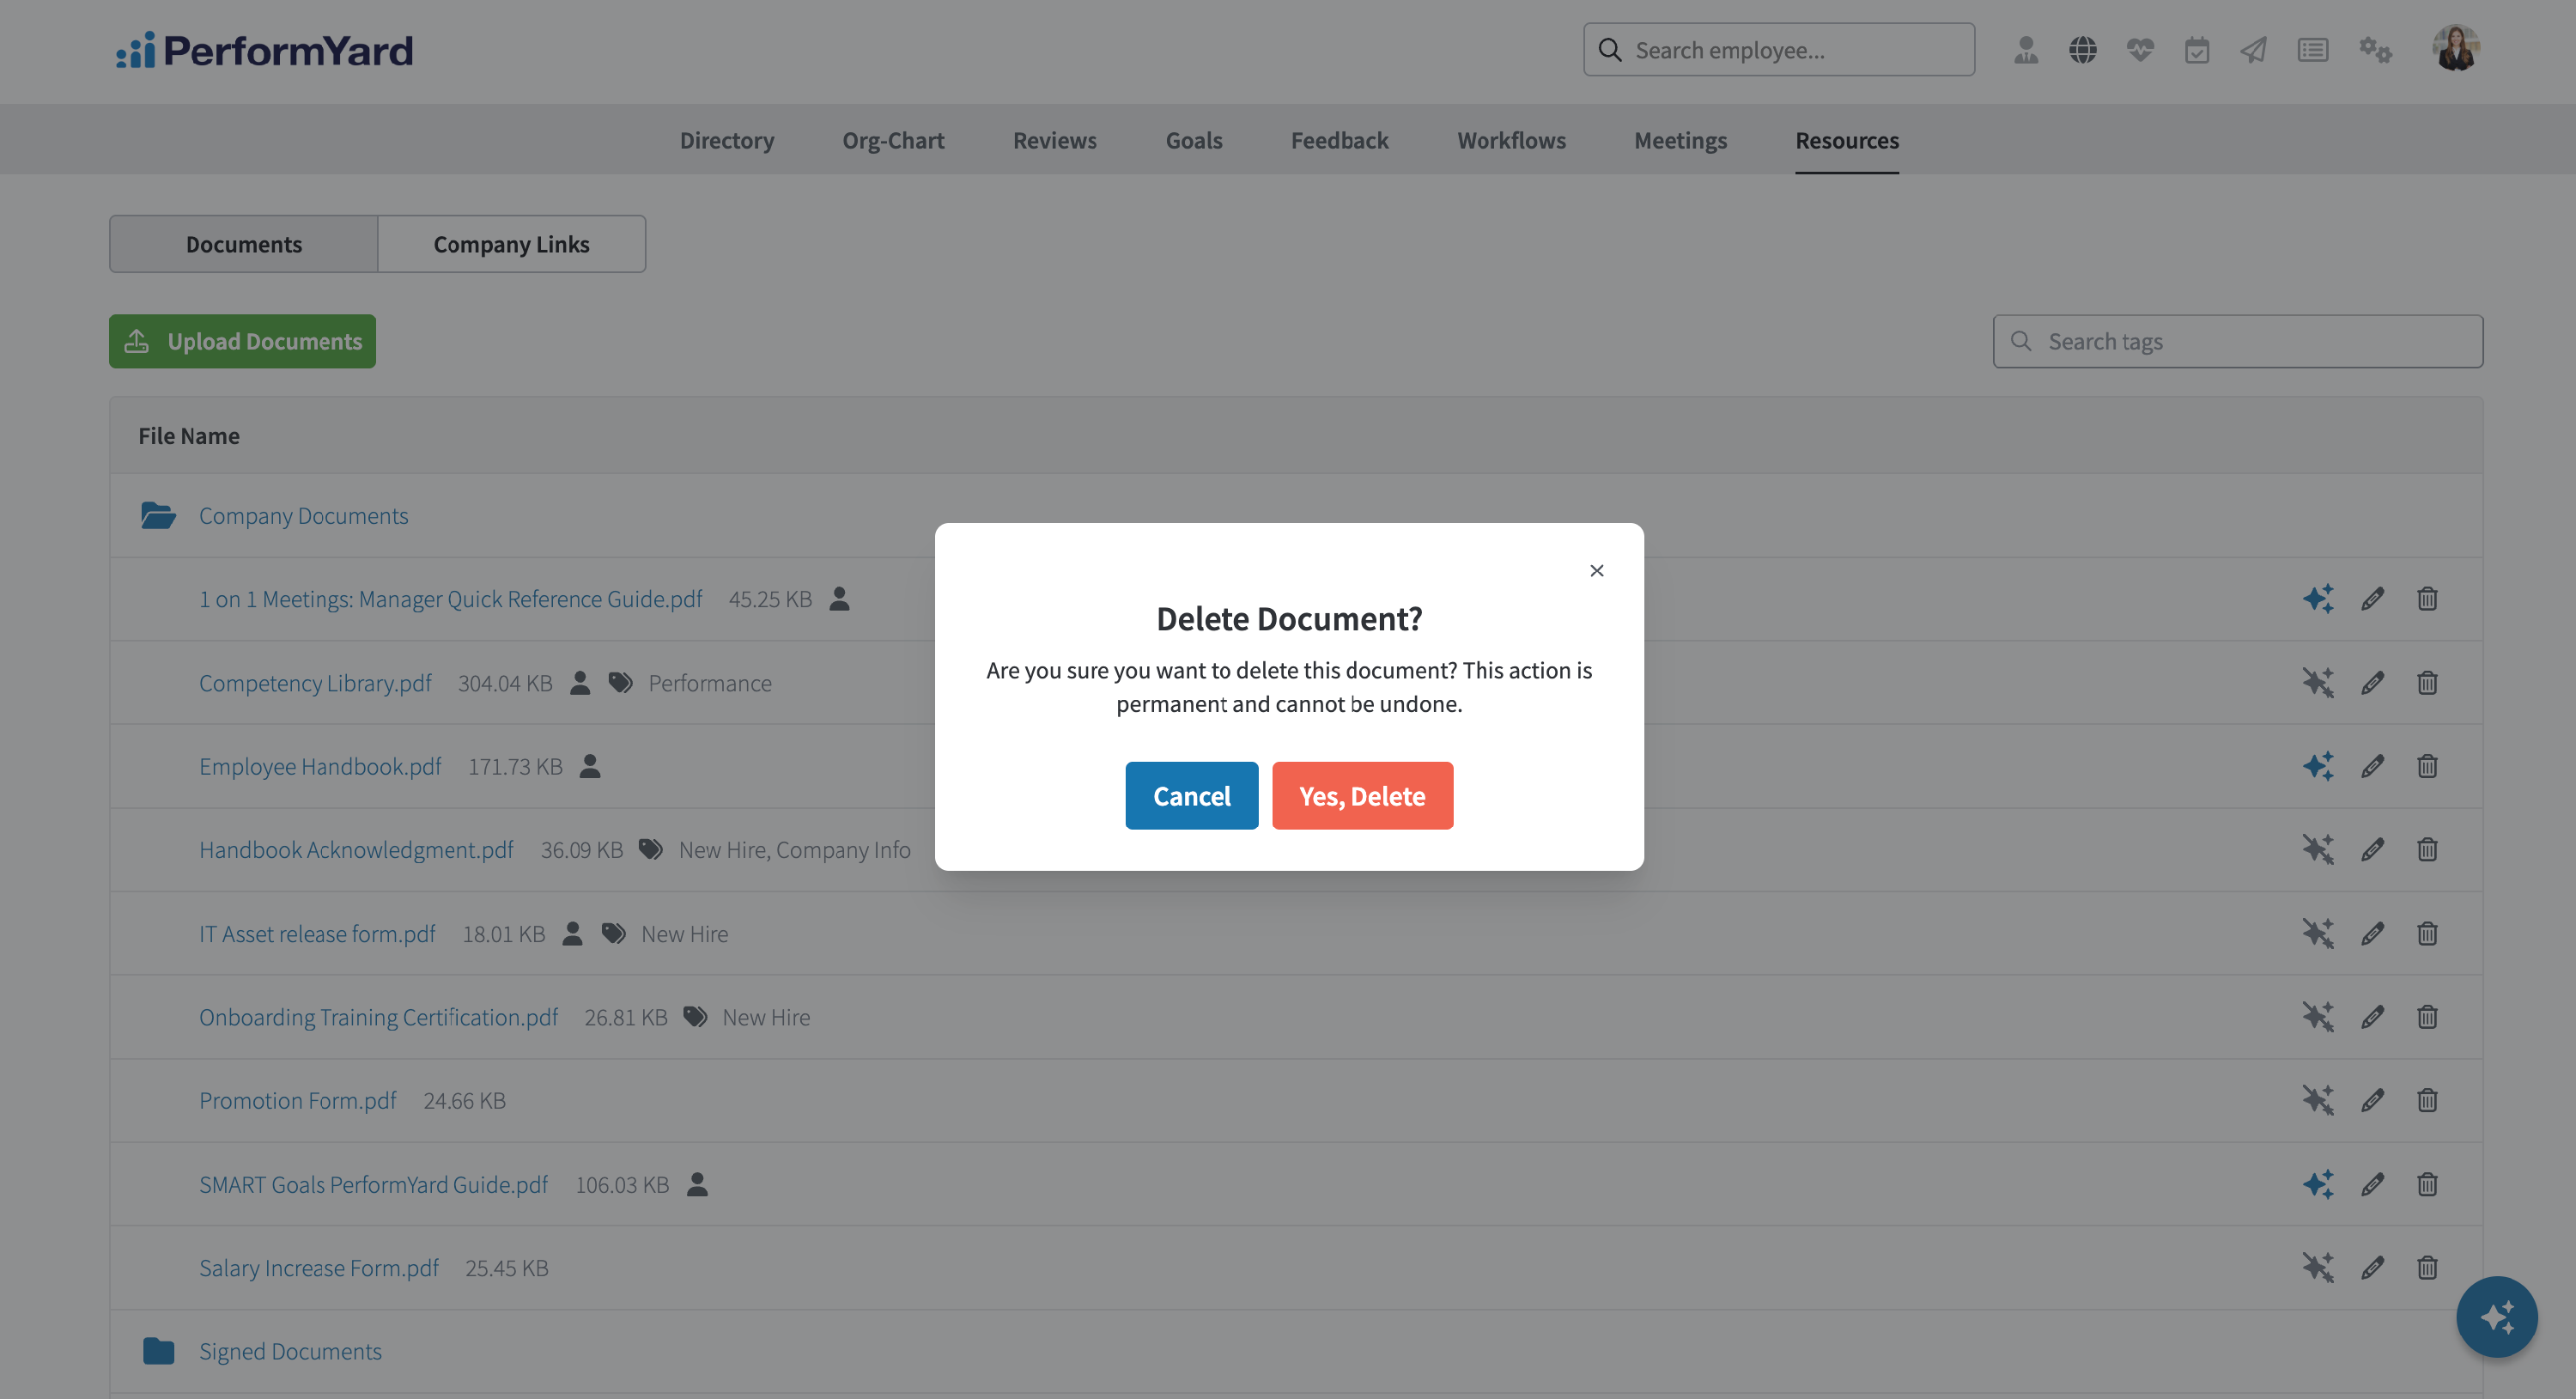
To delete a document, click the trash can icon next to the document name. In the confirmation dialog, click Yes, Delete to permanently remove the document.
Notes:
- Certain file types (such as executable files) and/or file sizes may be restricted.
- Multiple file selection and drag & drop functionality may not be available on all browsers.
Company Links
To add and manage company links, when on the Company Resources page, click Company Links.
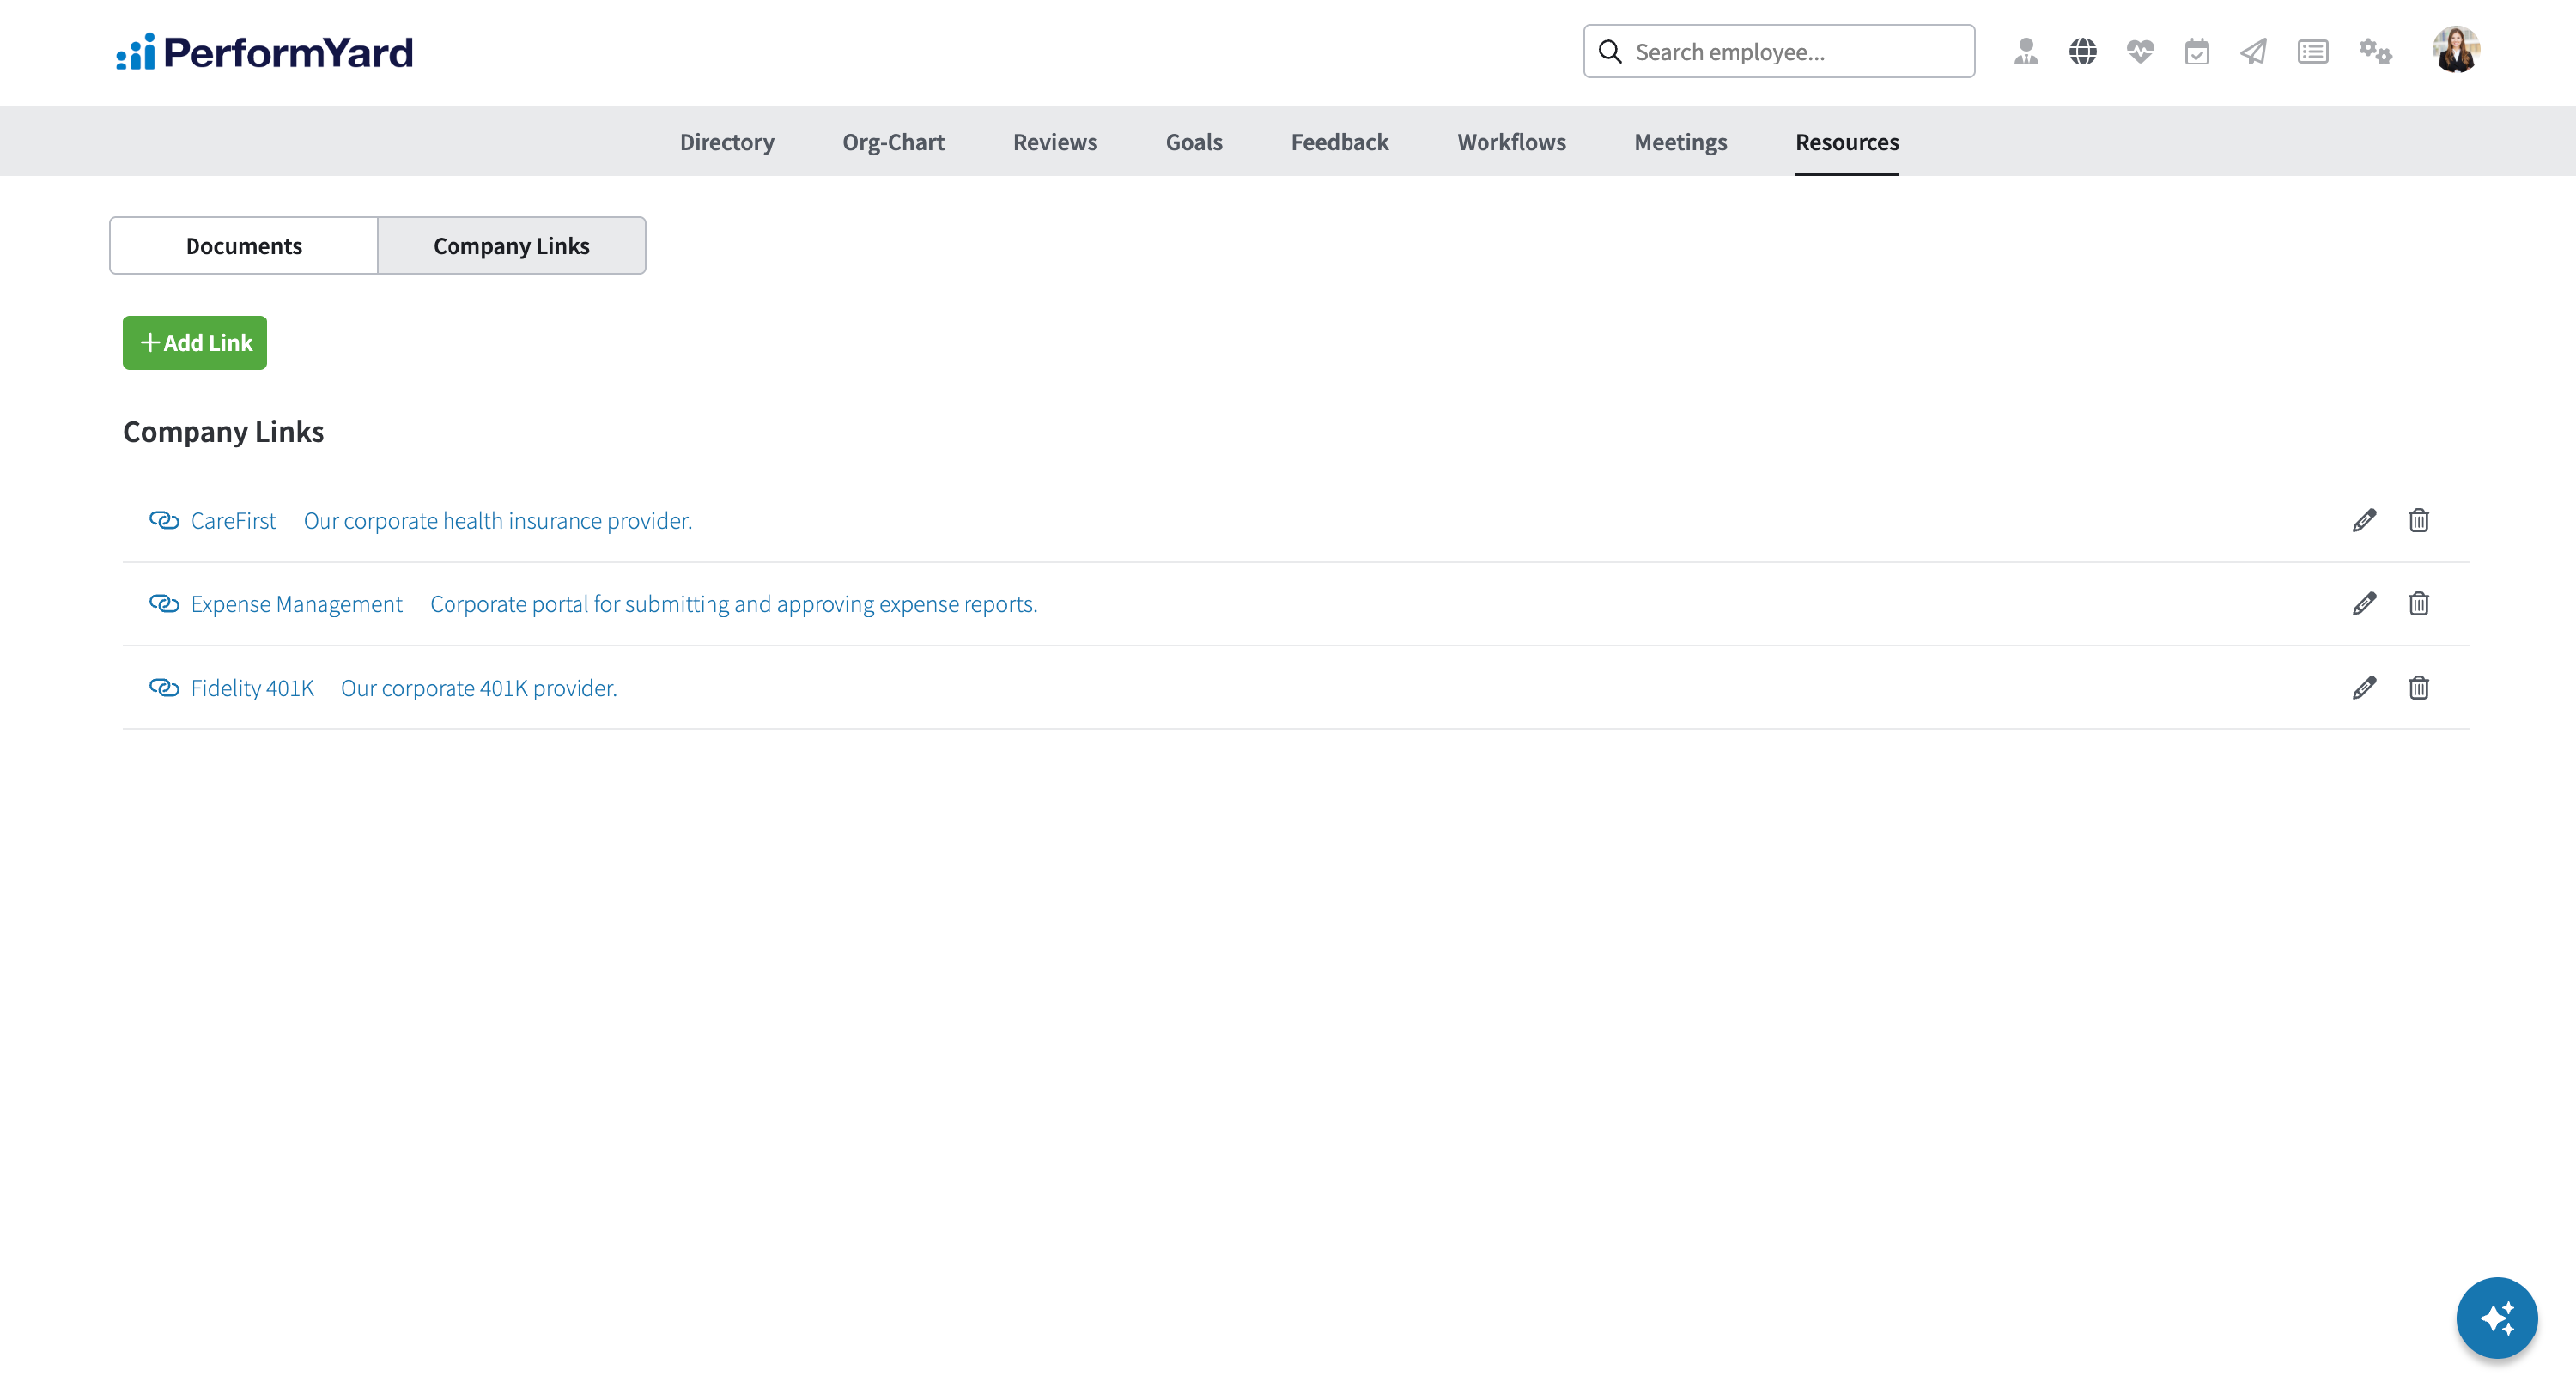
To add a new link, click Add Link. Enter in the appropriate information, including the URL of the link, the title you want to appear, any description of the link that you would like to provide and then click Add Link.

To update a link's attributes, click the pencil icon to the right of the link name. To delete a link, click the trash can icon to the right of the link name.